Hi everyone
I'm racking my brains to find a solution to make in CAD the same thing as the photo. Would any of you have already done this type of design?
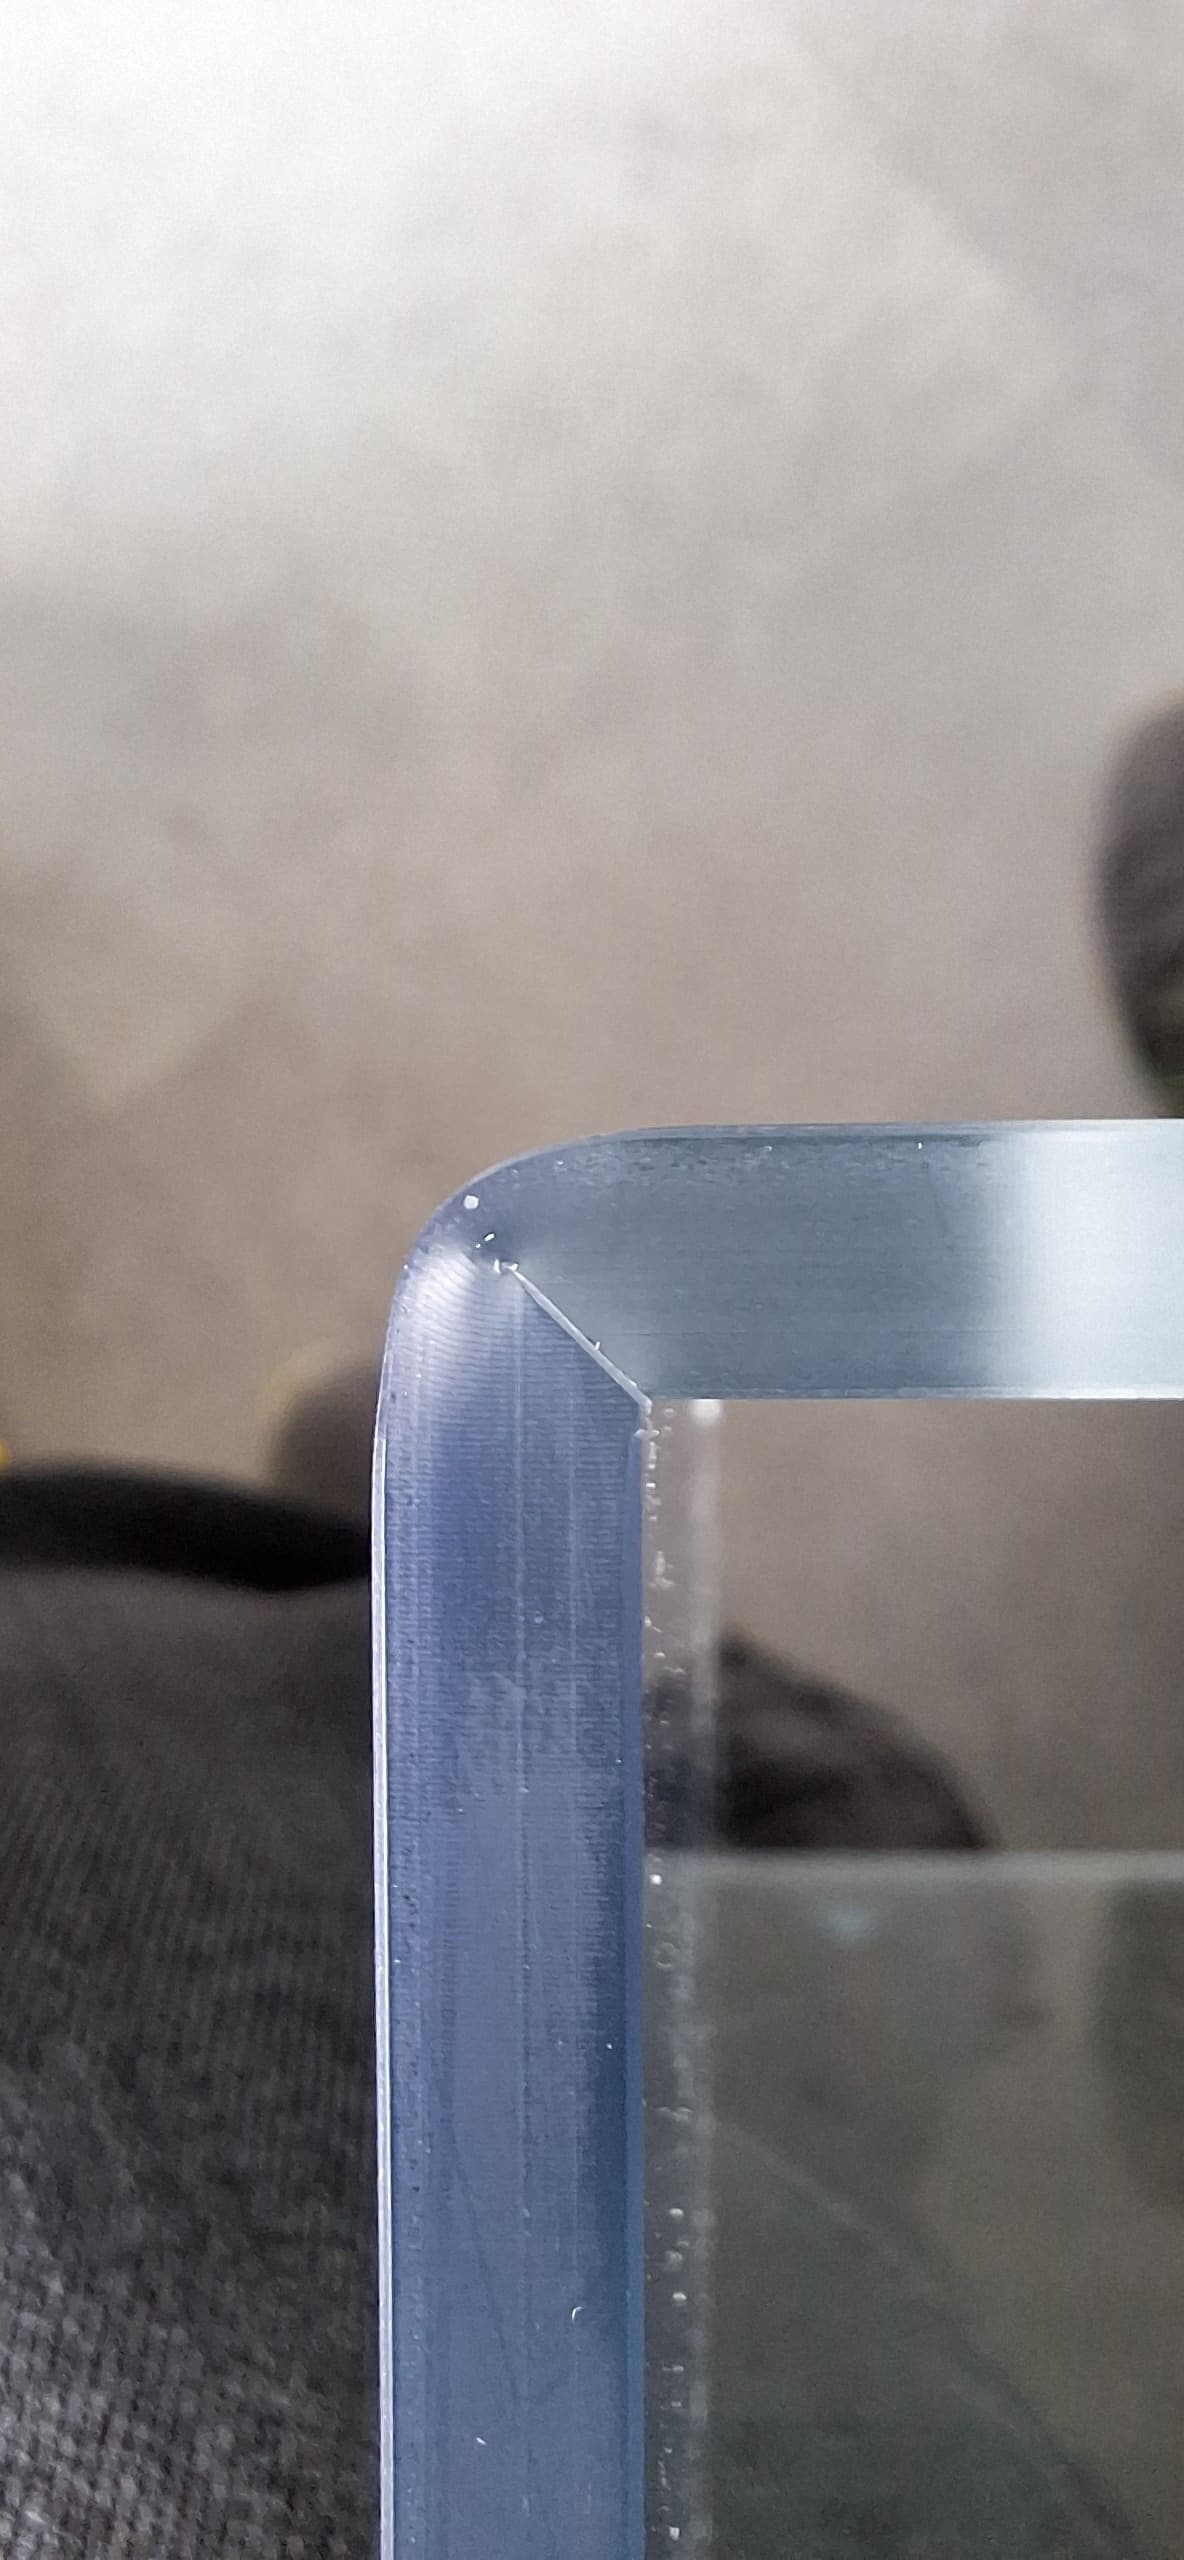
It is a fold of a plastic plate with an incision. The goal is to give for the manufacture the right developed.
My multi-fold piece with an incision.
Thank you in advance.
1 Like
Hello
When I worked in plastics, we had the same problem.
SW was (and may still be) unable to manage the crease if you remove material from it. It is therefore impossible to represent the actual piece.
The theoretical calculation developed on this type of folding is very easy: addition of the inner ribs.
In SW you have to set your fold loss to 2x the thickness remaining after incision.
Example:
material thickness = 5mm
incision width = 5mm at 90°
→ there is therefore 2.5mm of material left in the bottom => loss at the fold of 5
Attached is a small crobar to explain
20250204153457.pdf (29.6 KB)
As a general rule, we used this basic rule for 95% of our folds: loss at the bend = 2x the (remaining) thickness.
2 Likes
Thank you for your answer.
Basically, I make a classic fold with a radius of 0.1 (the smallest) and I set my loss at the fold to get a real press and my colleague will make his cut in relation to the axis of the fold.
The principle unfolded I understood well even if we are more at 1/3 than 1/2 
I thought we could do something more realistic (folded/unfolded)
Thank you for your feedback
For the 1/3, 1/2, 1/4 or 3/4, it's the same setting: 2x the remaining thickness for the loss at the crease.
It's possible to do something very realistic... I had to do it for a client who was a bit fussy...
Wholesale:
- A configuration for production, simple, basic
- a configuration by adding material removal to each fold (folded part) to get as close as possible to reality.
For a piece from time to time, OK, on a daily basis, certainly not: too time-consuming!
1 Like
Thank you for this tutorial that I did again and that I think one day I'll actually use it again with tube.
But now I can't get back to the tutorial to use plates. In any case thank you for the very nice tutorial
Hello
Look at this part more to your needs?
Tested 2.SLDPRT (137.4 KB)
it's an idea of how to do it, maybe it works better on more felt versions of SolidWorks