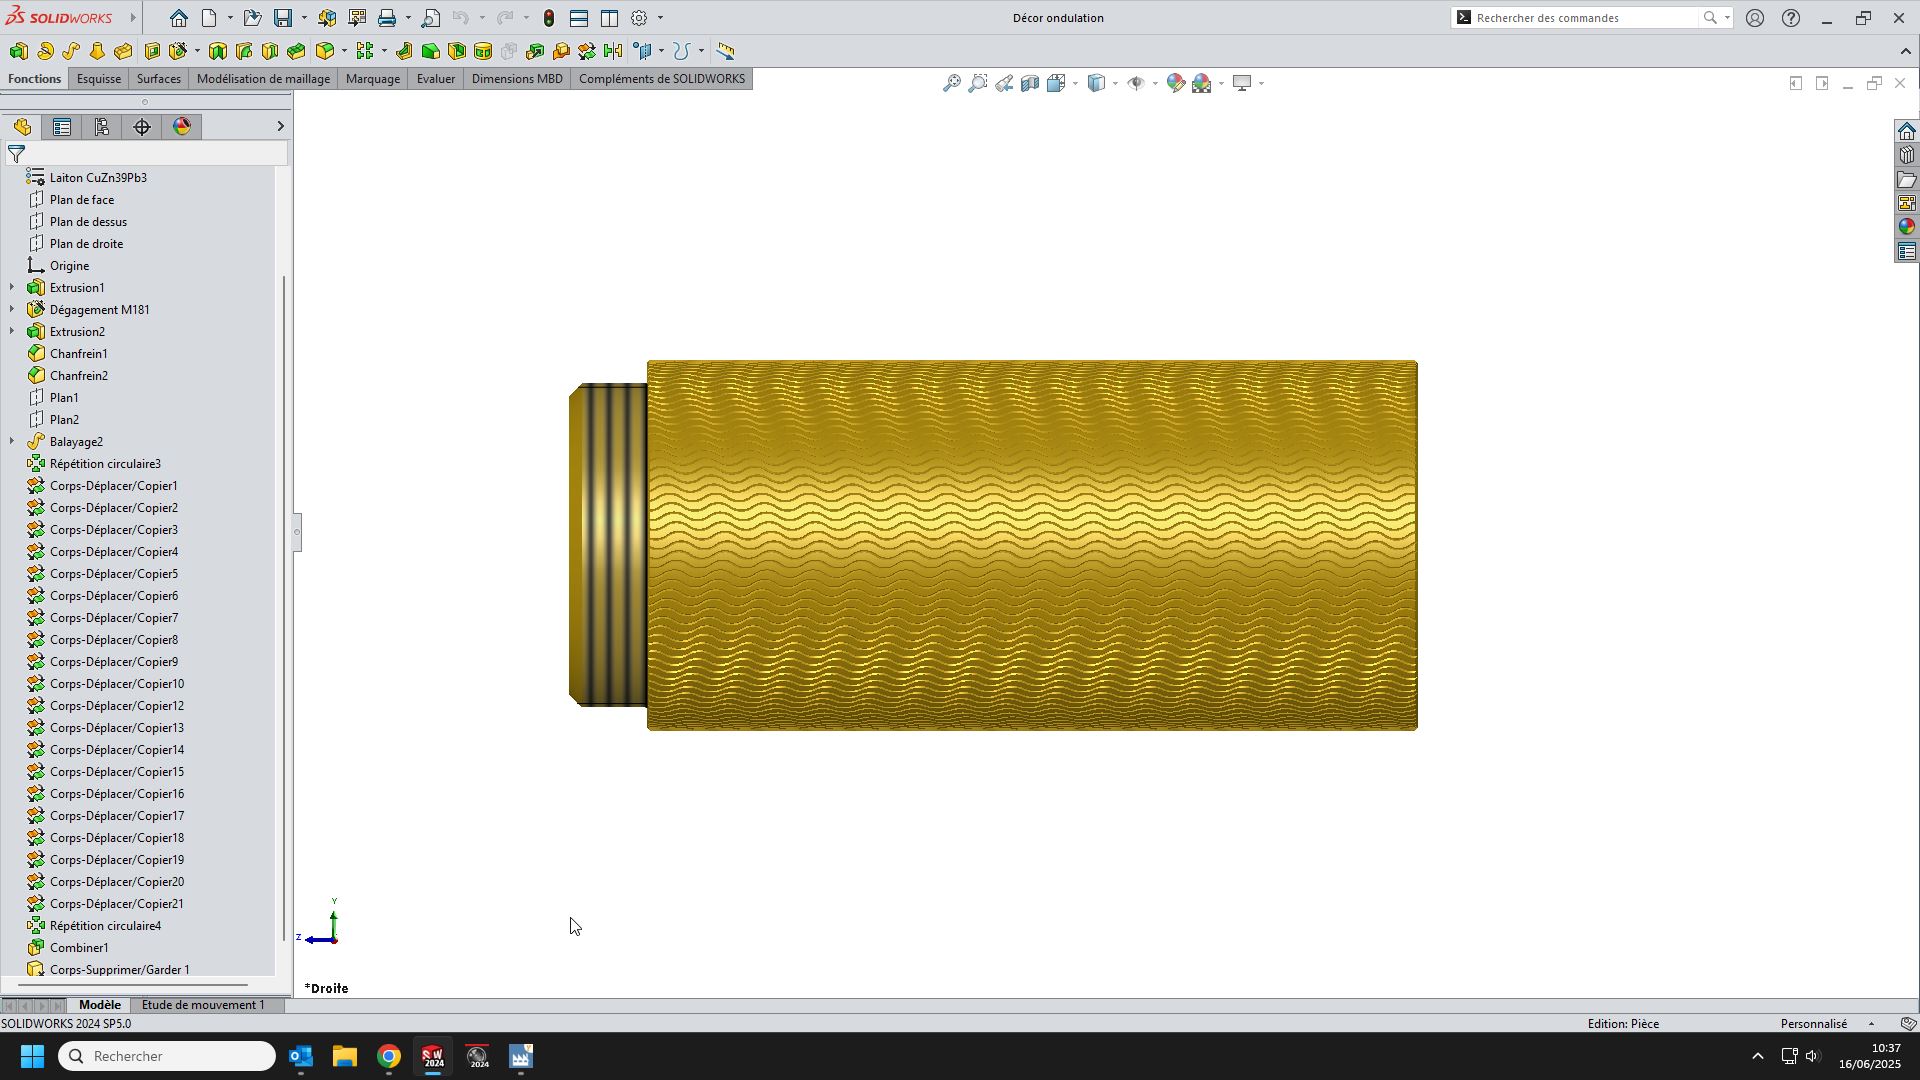
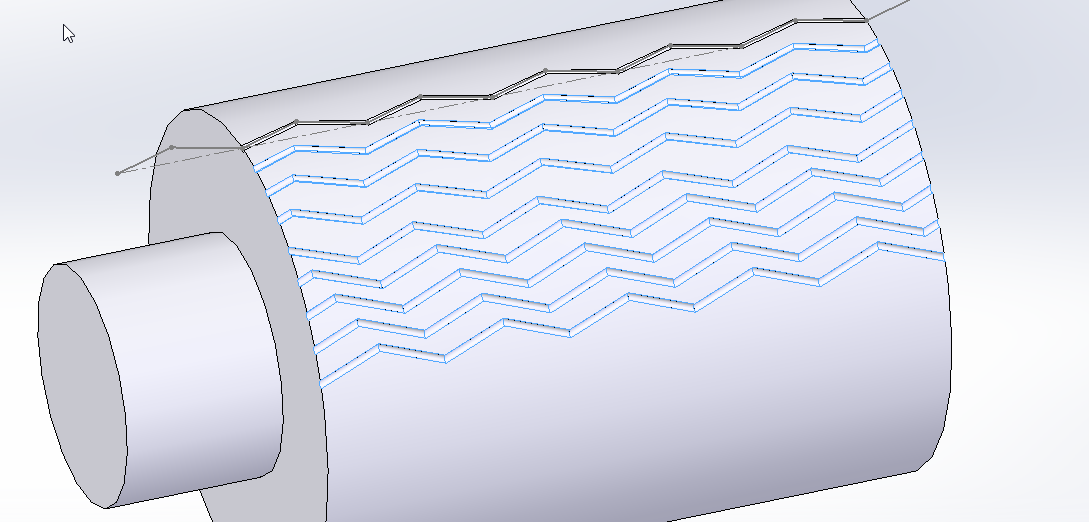
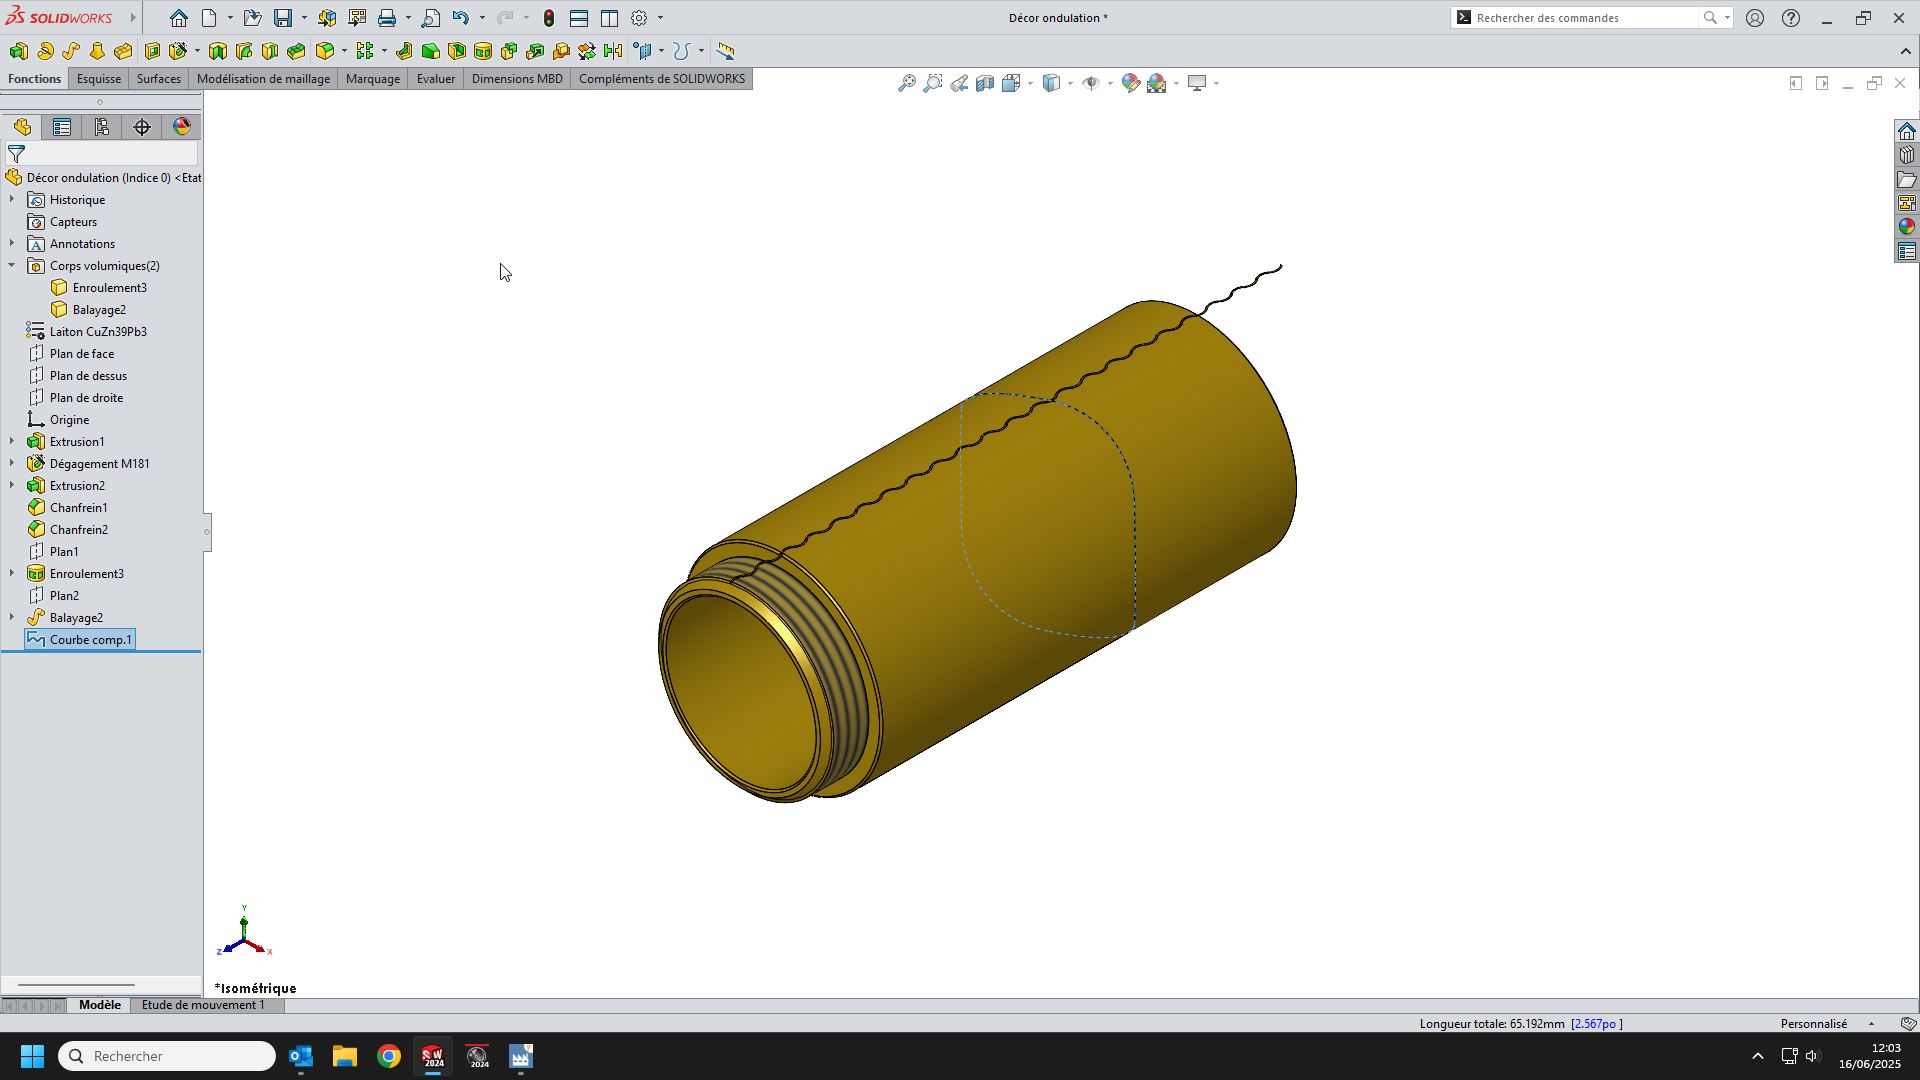
Does anyone have a simpler solution than what I did for the repetition of the " wavy " set? Undulating décor. SLDPRT (43.8 MB)
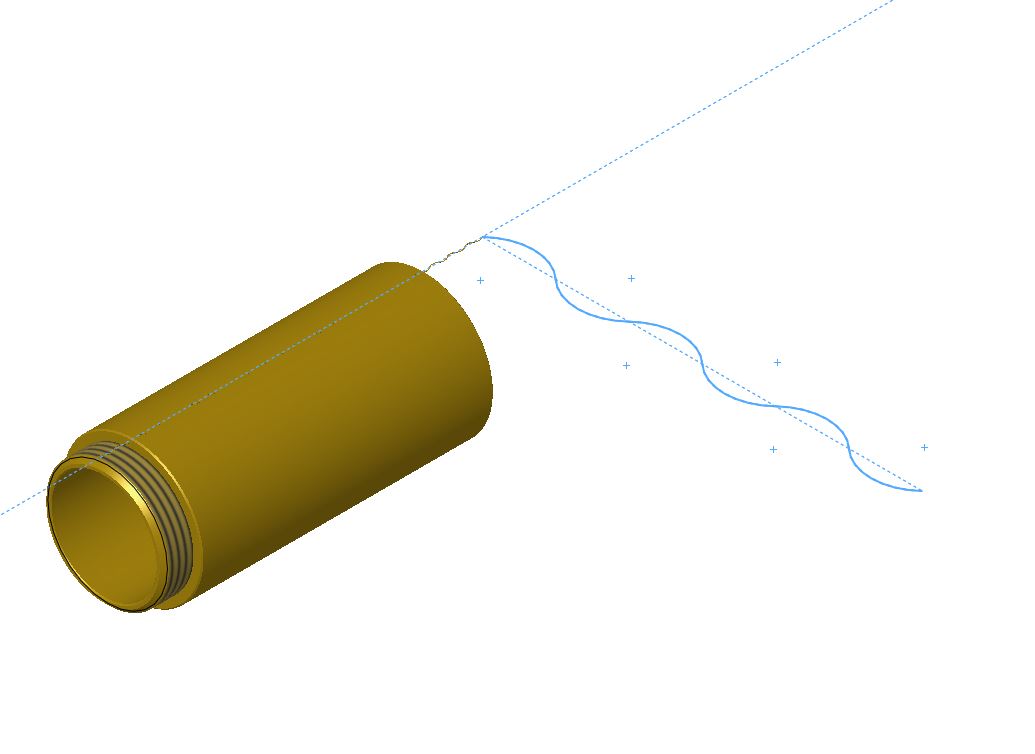
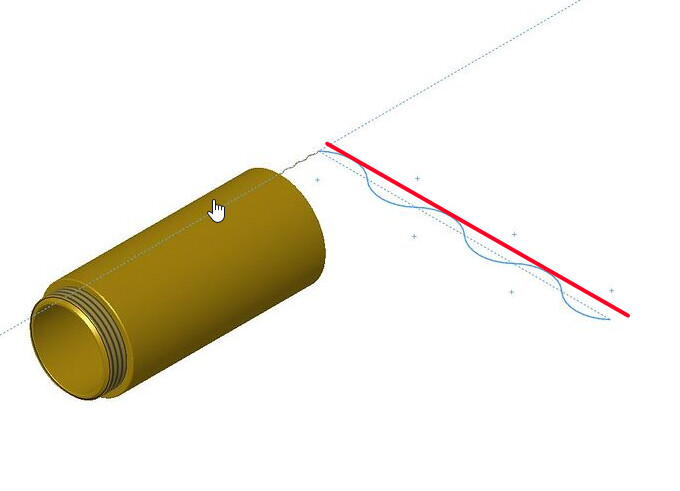
My 1st idea was to create a curve around the cylinder and use it to do a curve-driven repetition but I never succeeded. I tried another method with a sketch but the rehearsals didn't shift the way I wanted.
I'm trying my luck here because the file is heavy to open with this build. Thanks in advance
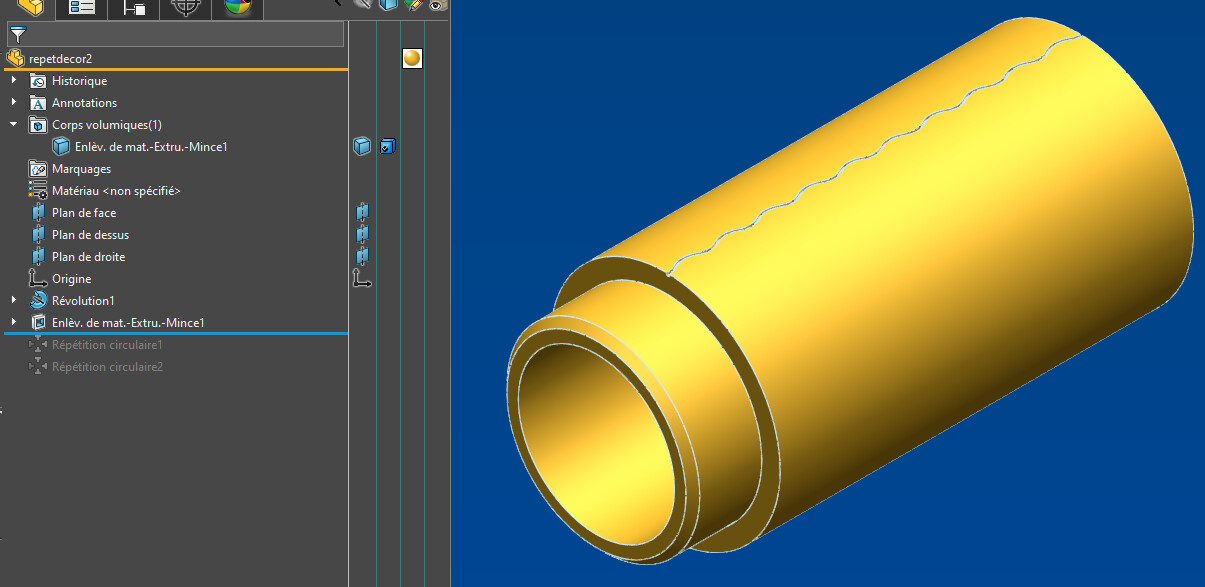
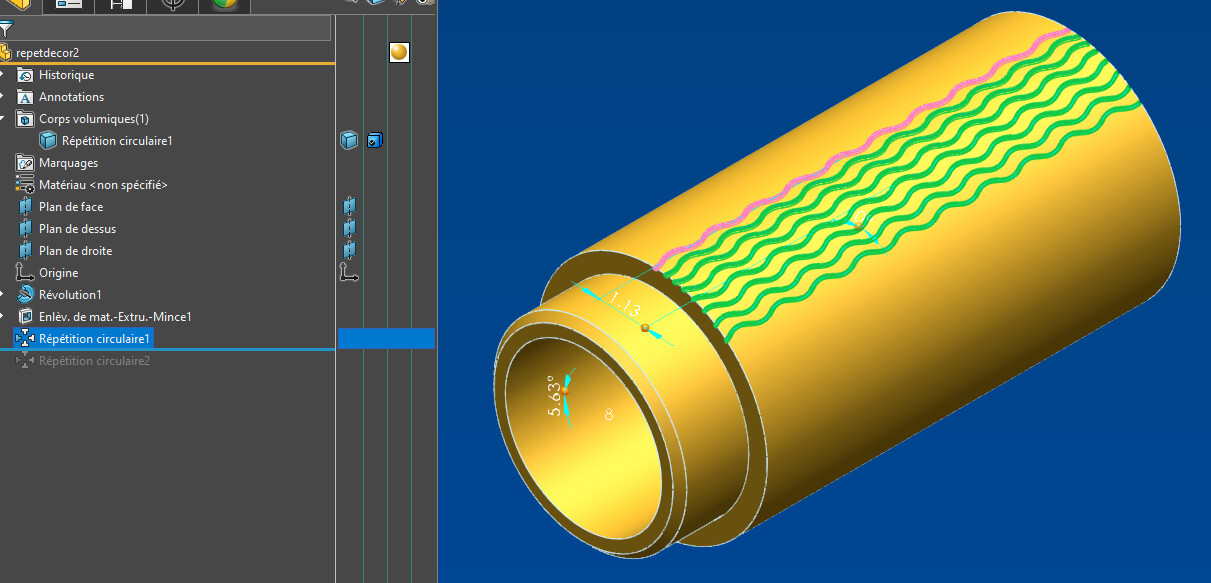
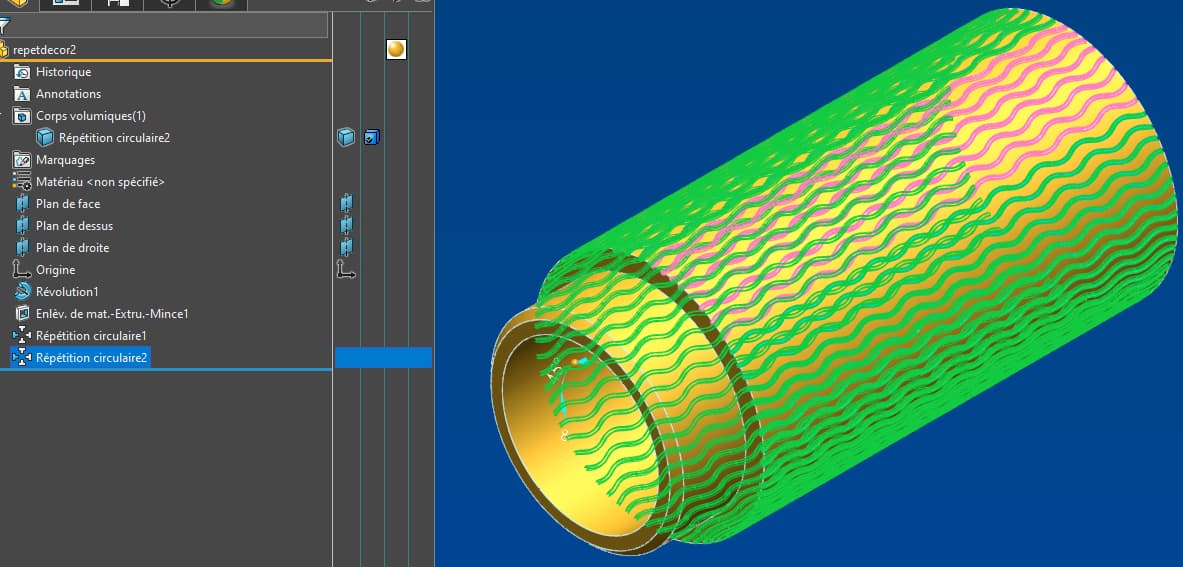
For your information, I did a 1st scan, I did a circular repetition on 120° (The 120° is because the ripple returns to the " symmetrical " point) and I shifted each body created by a certain value to give this effect that the client wants. I then repeated all this in 360° and combined.
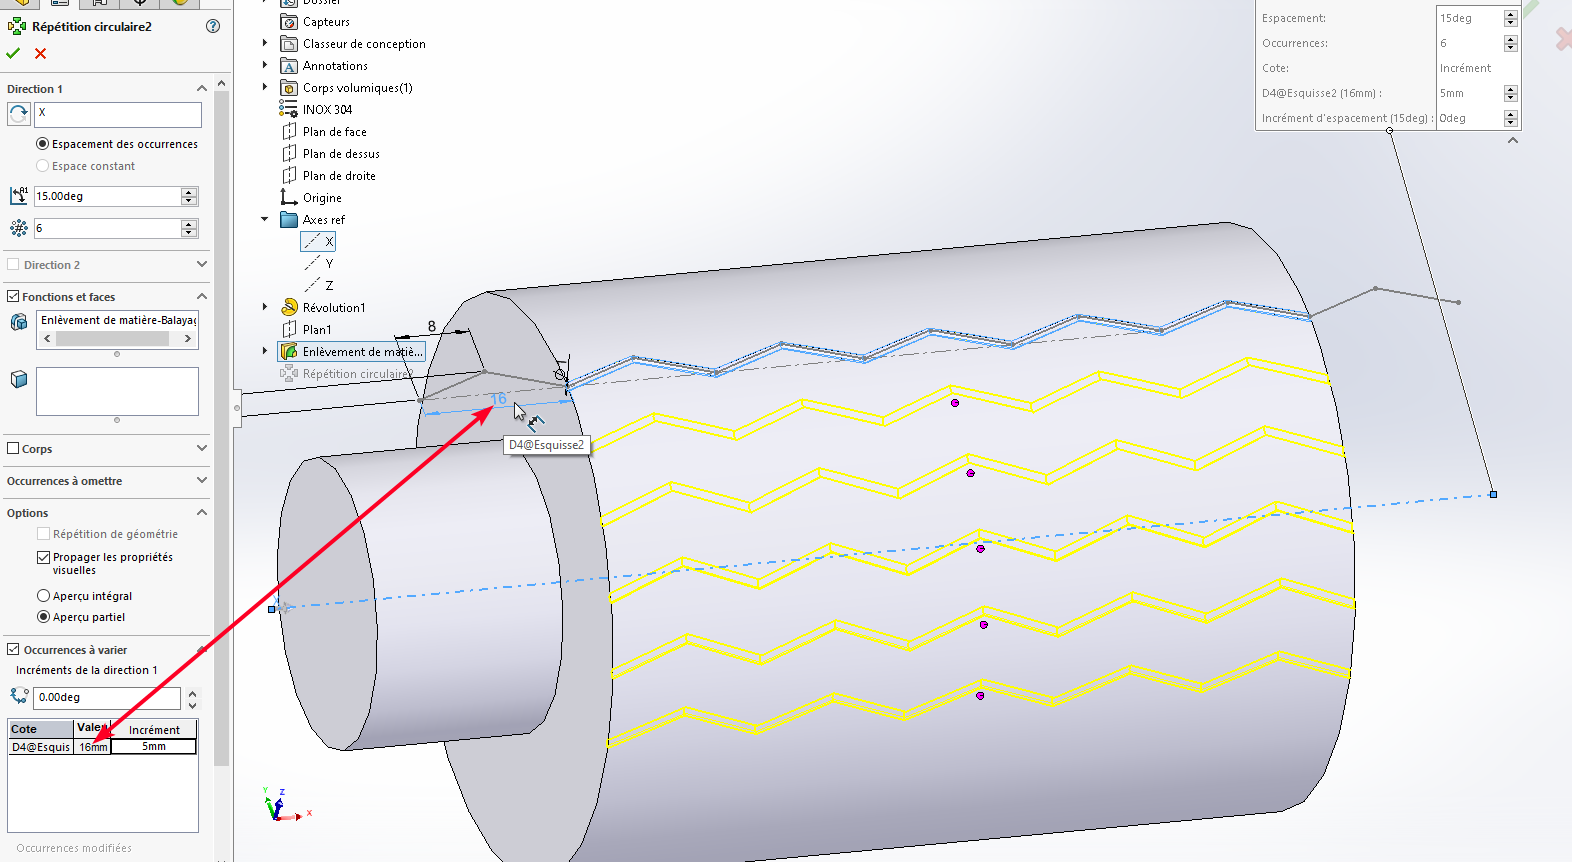
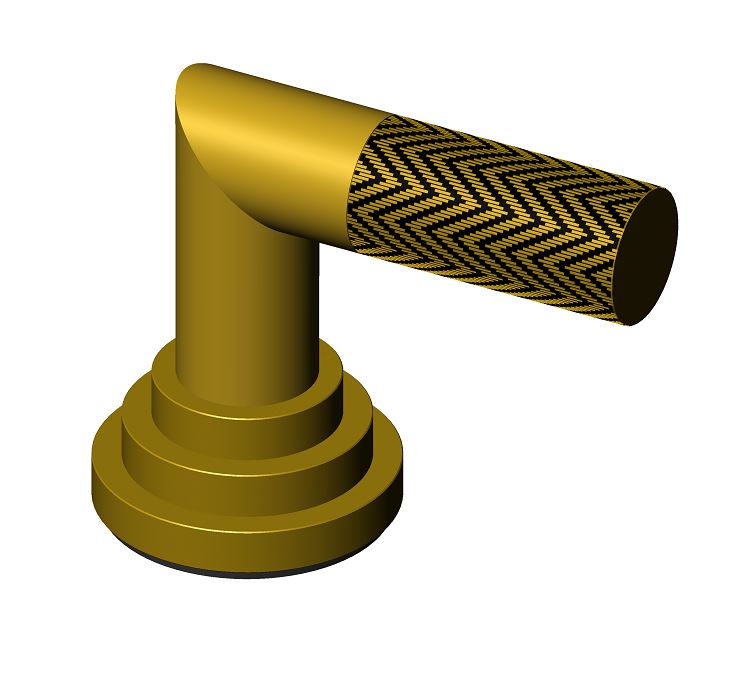
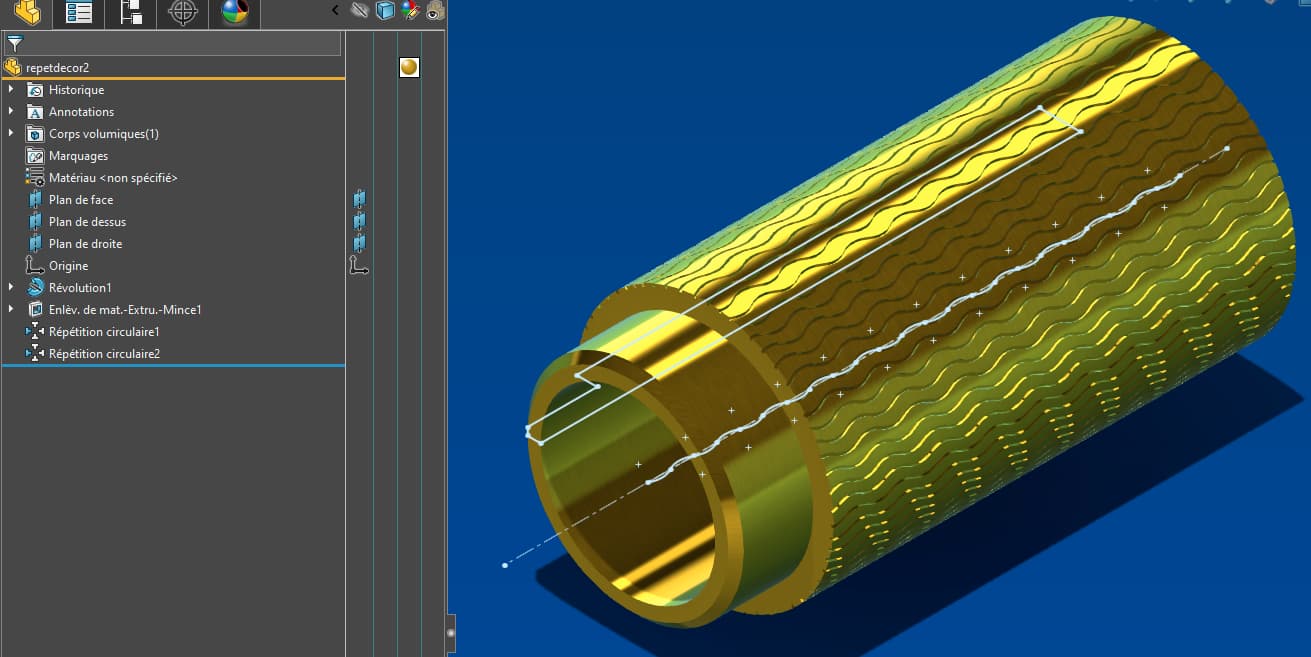
For my part, I would have drawn the part by revolution, then a sweep by material removal and a circular repetition to finish the threading function remains to be added. Attached is a screenshot of the principle of the attachment in version Test1.SLDPRT (839.8 KB) SW2023:
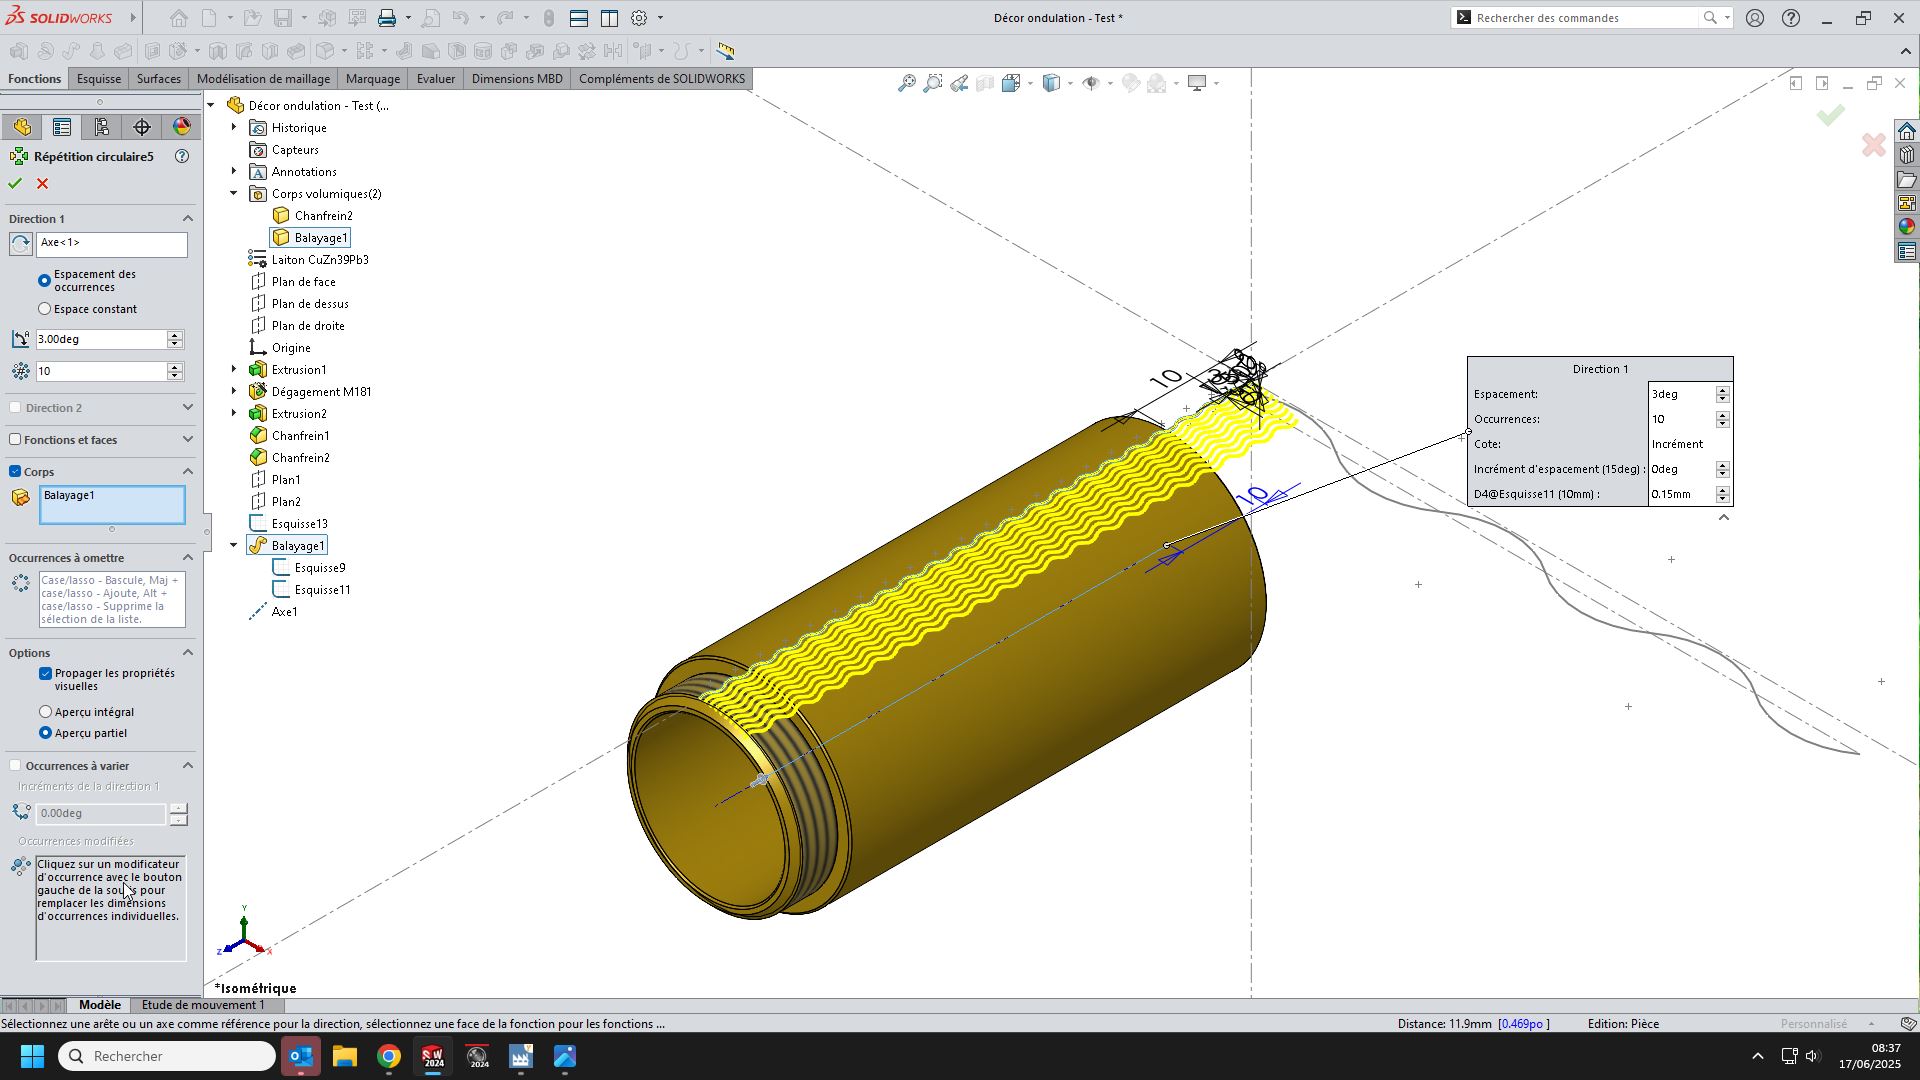
On the other hand, with a dimension that you then pilot, you can add an offset increment (or enter it manually on each occurrence) Example with the controllable 16 dimension and 3mm increment
@Maclane textures ever done and you need the right texture to succeed in getting the desired look from what I've seen.
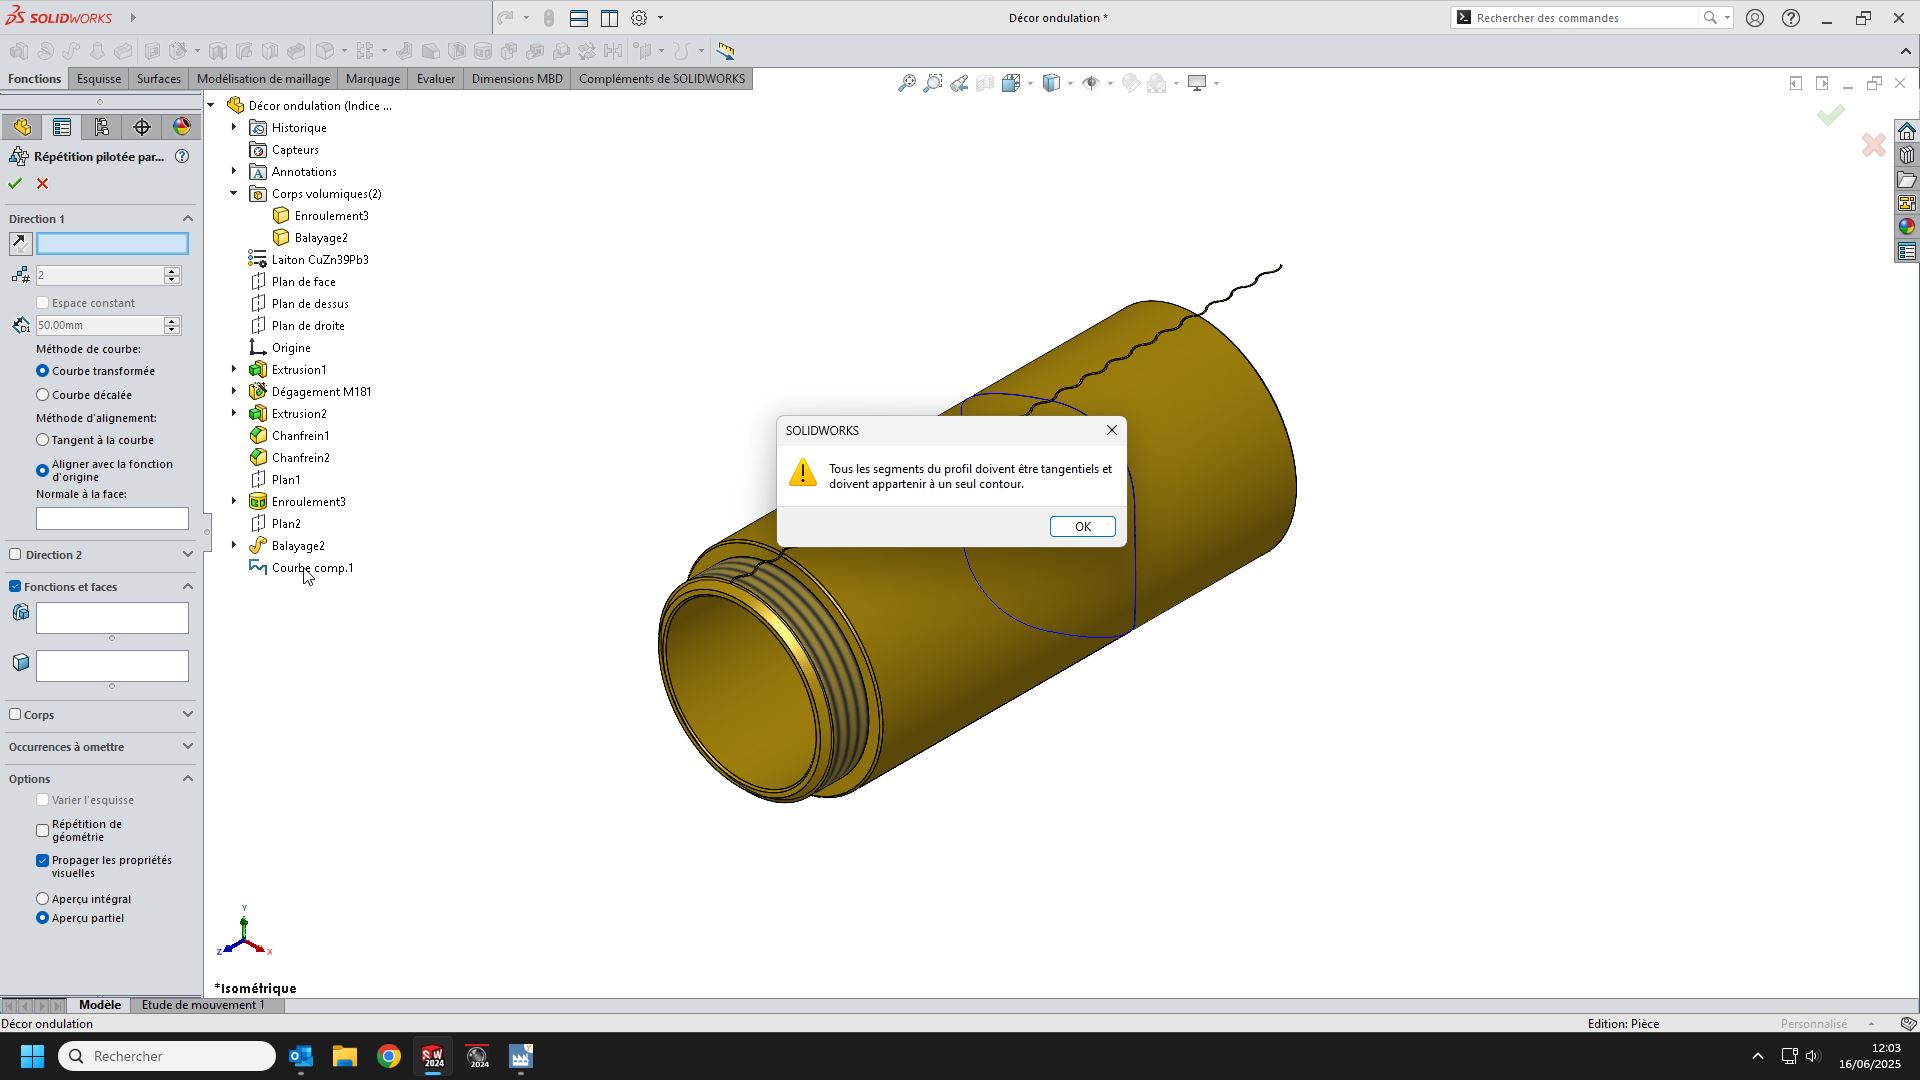
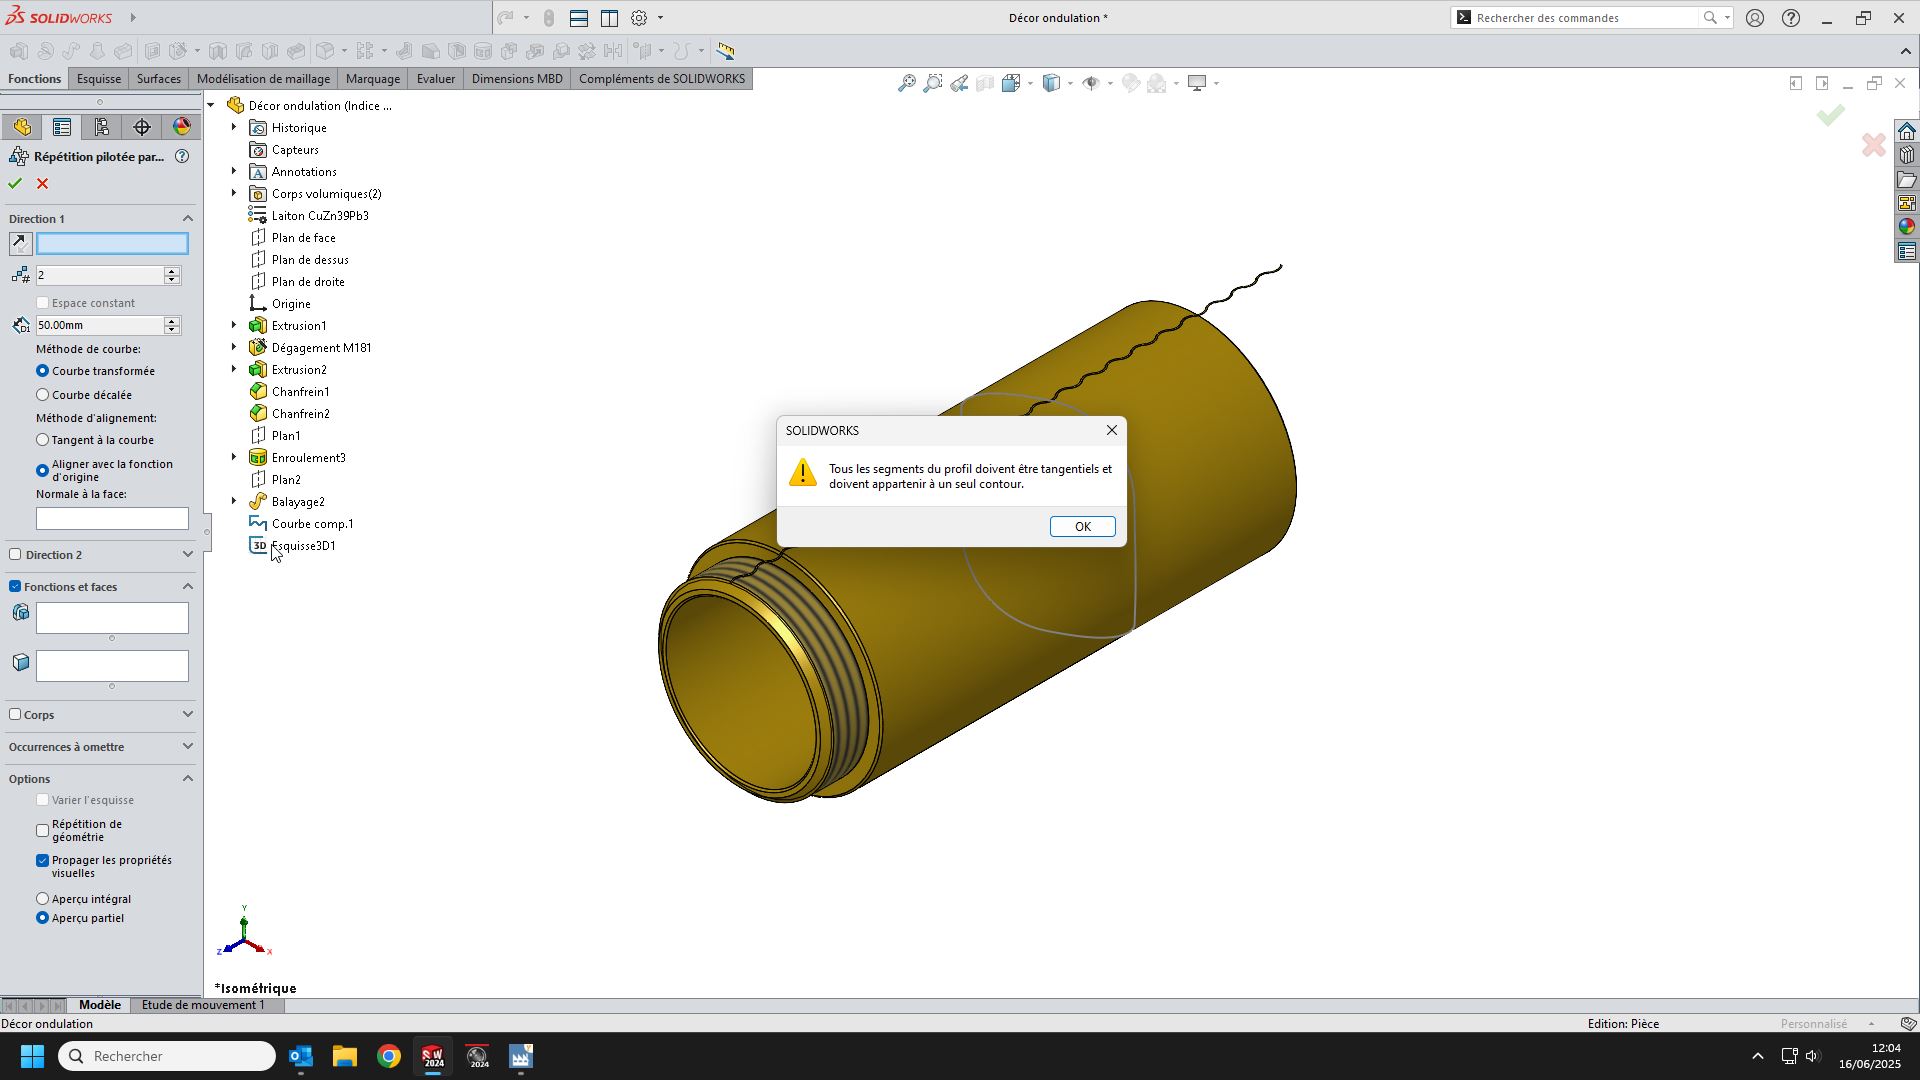
For curve-driven repetition, here's where it gets stuck. I can't put her in the face. I tried with a composite curve from the dividing line. I tried with a 3D sketch I can't get anywhere.
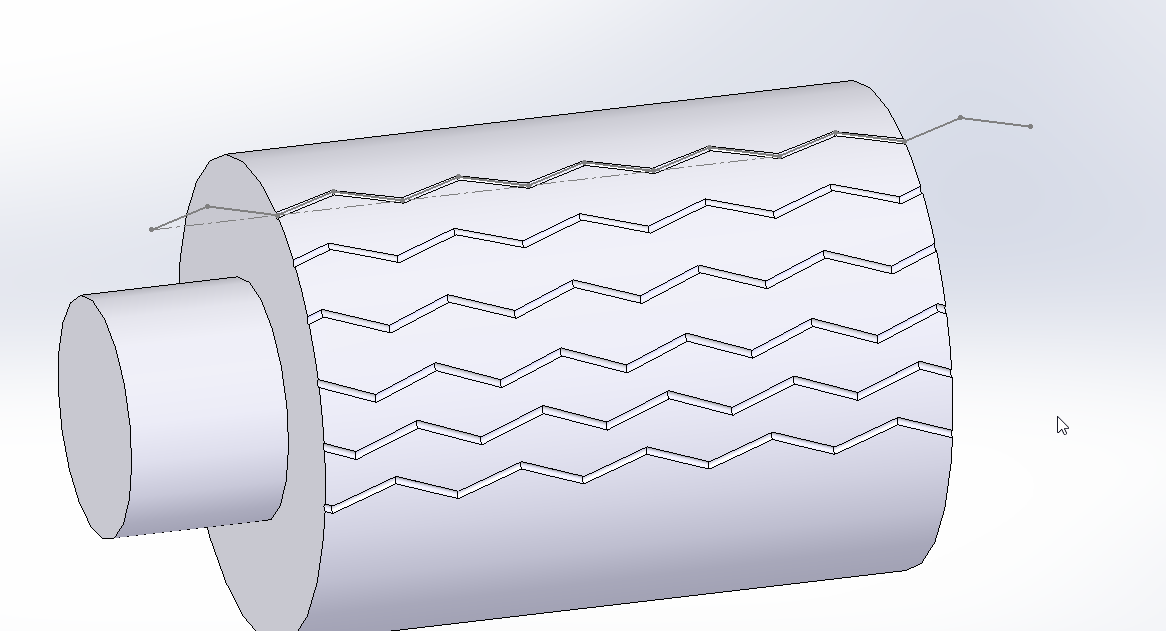
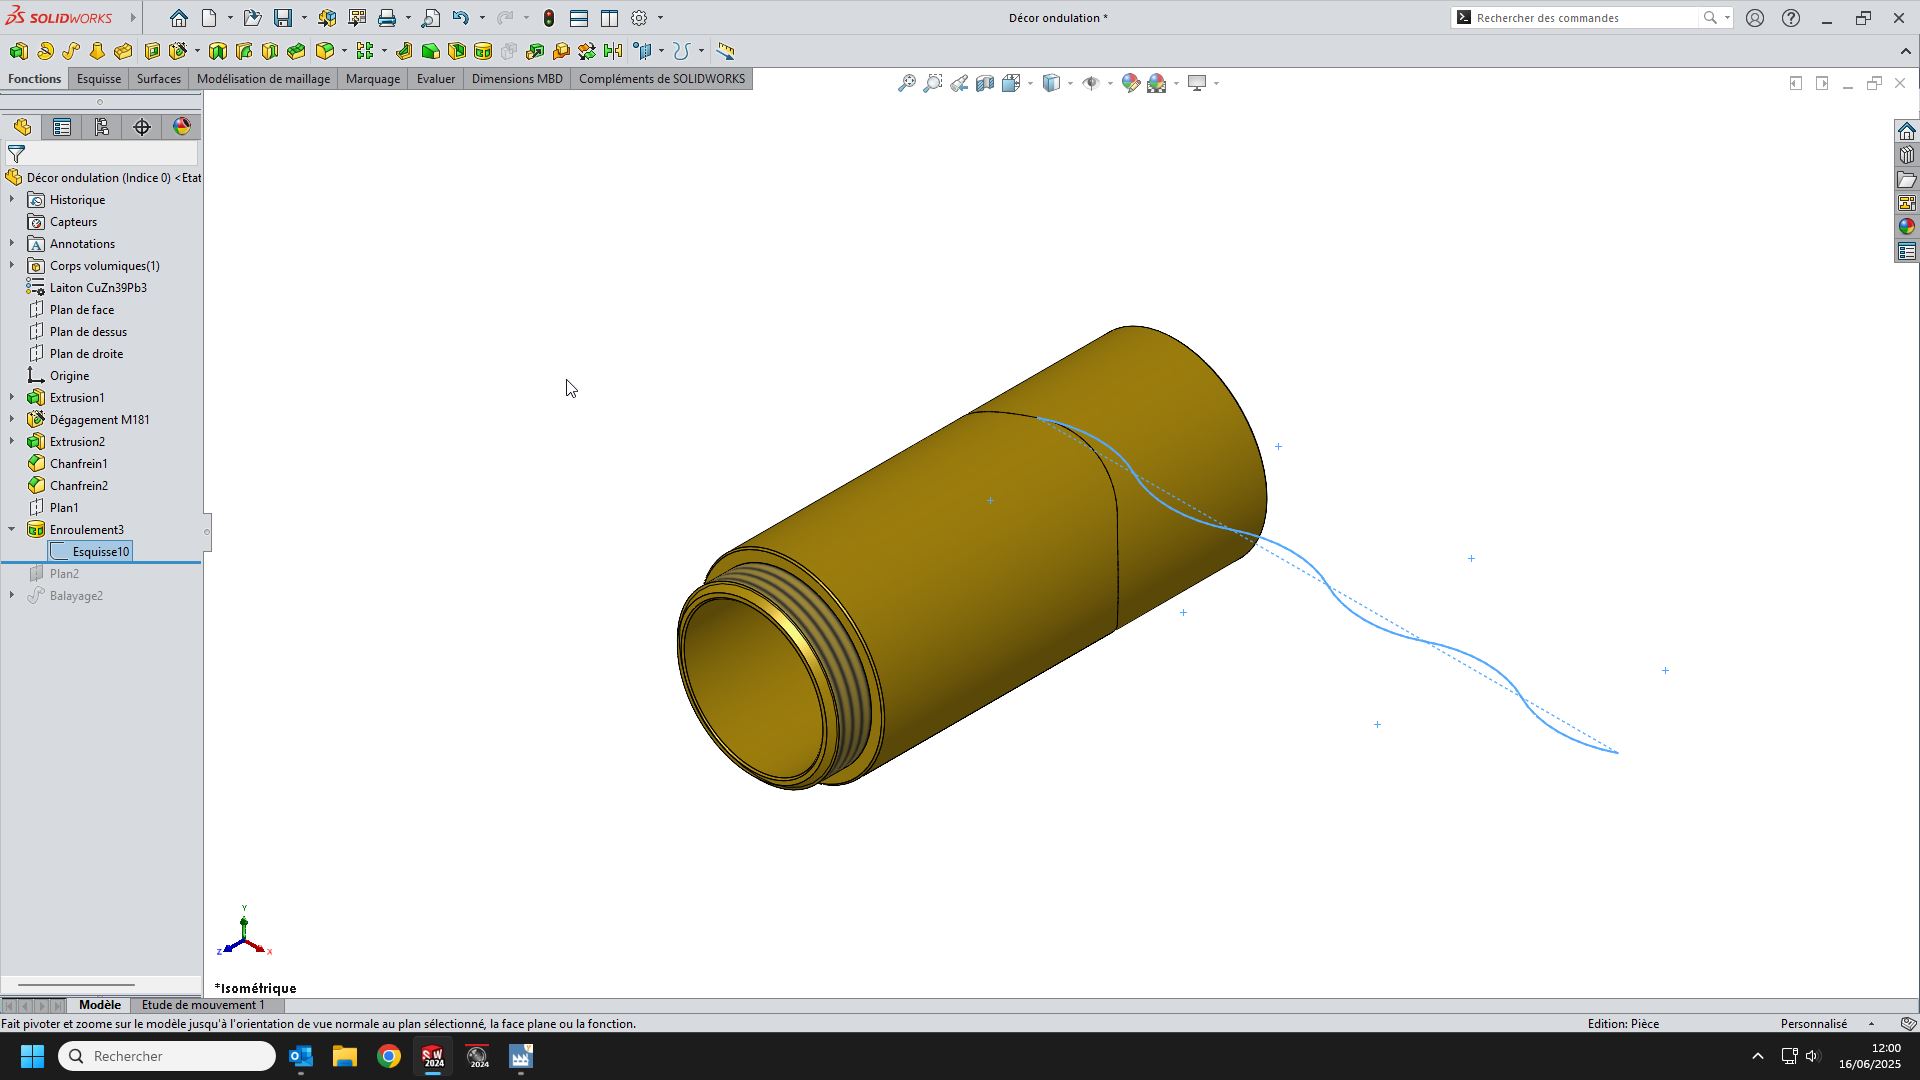
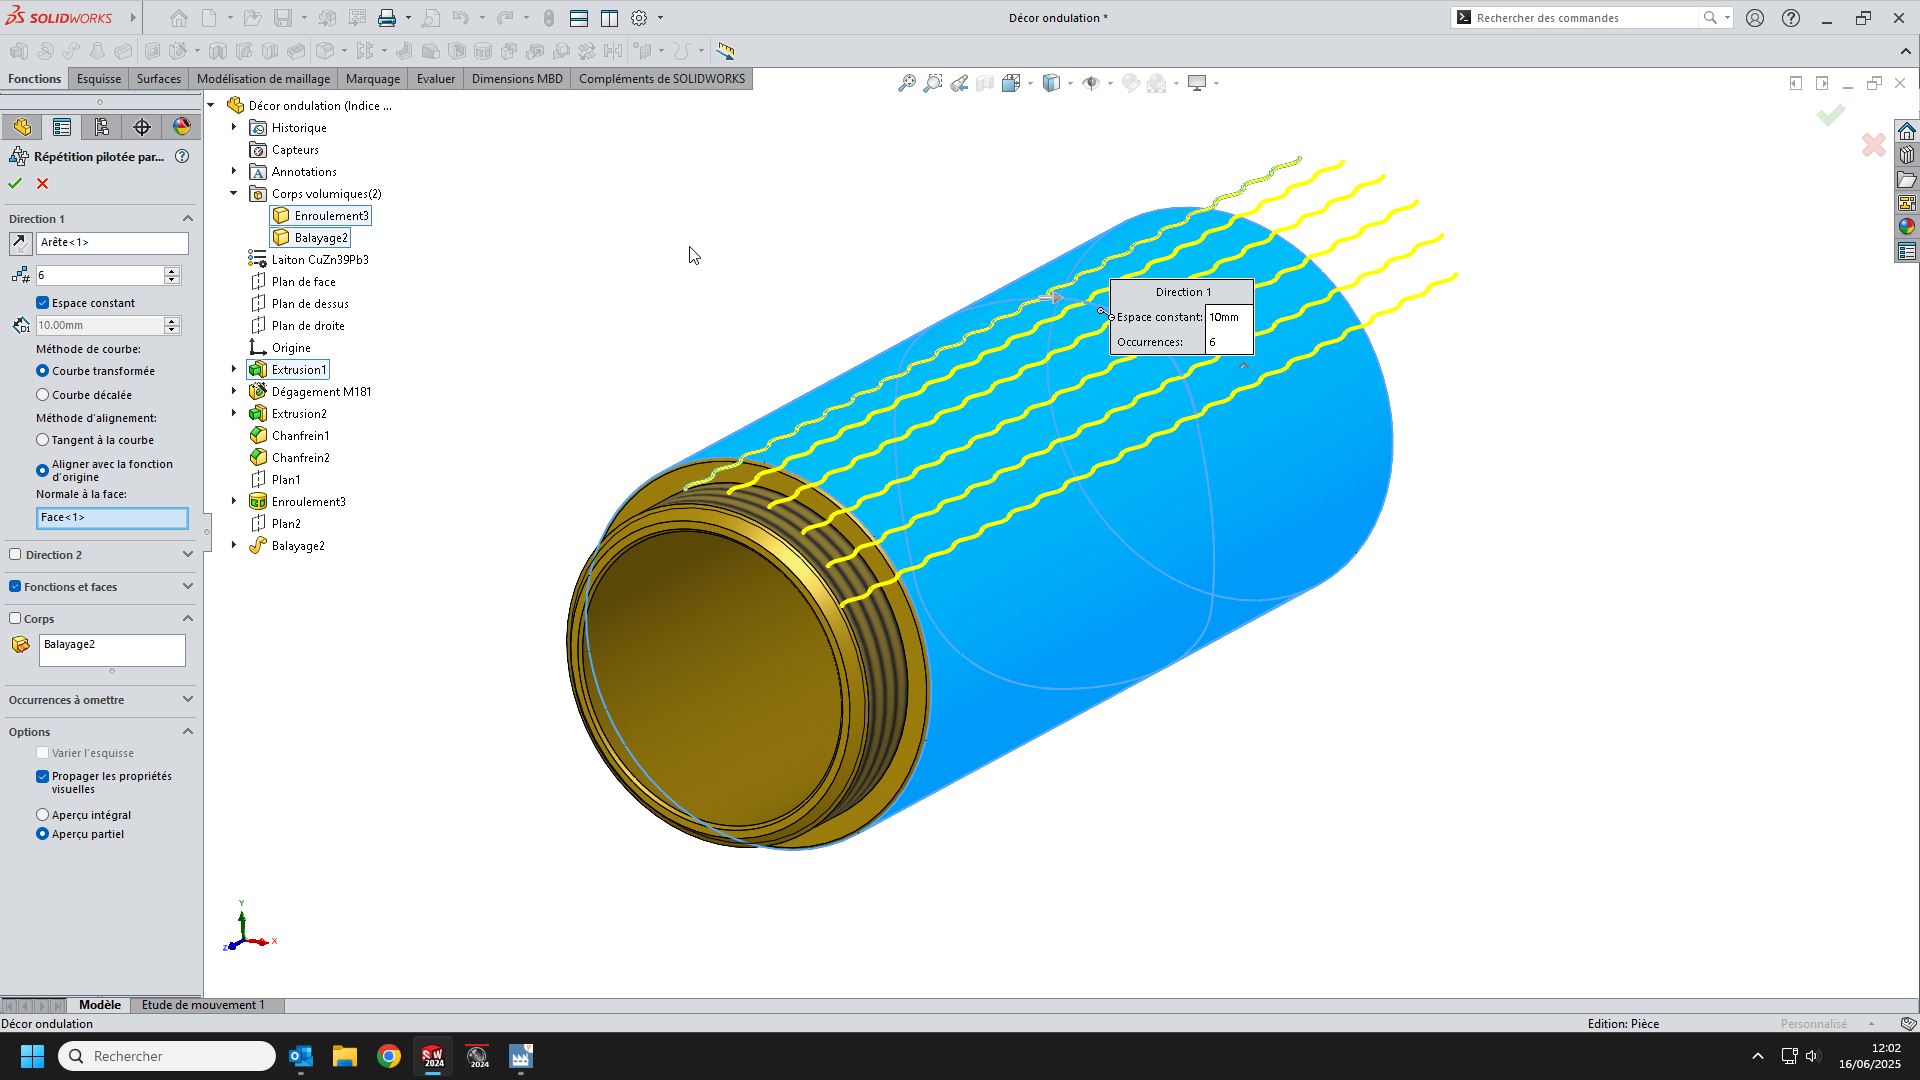
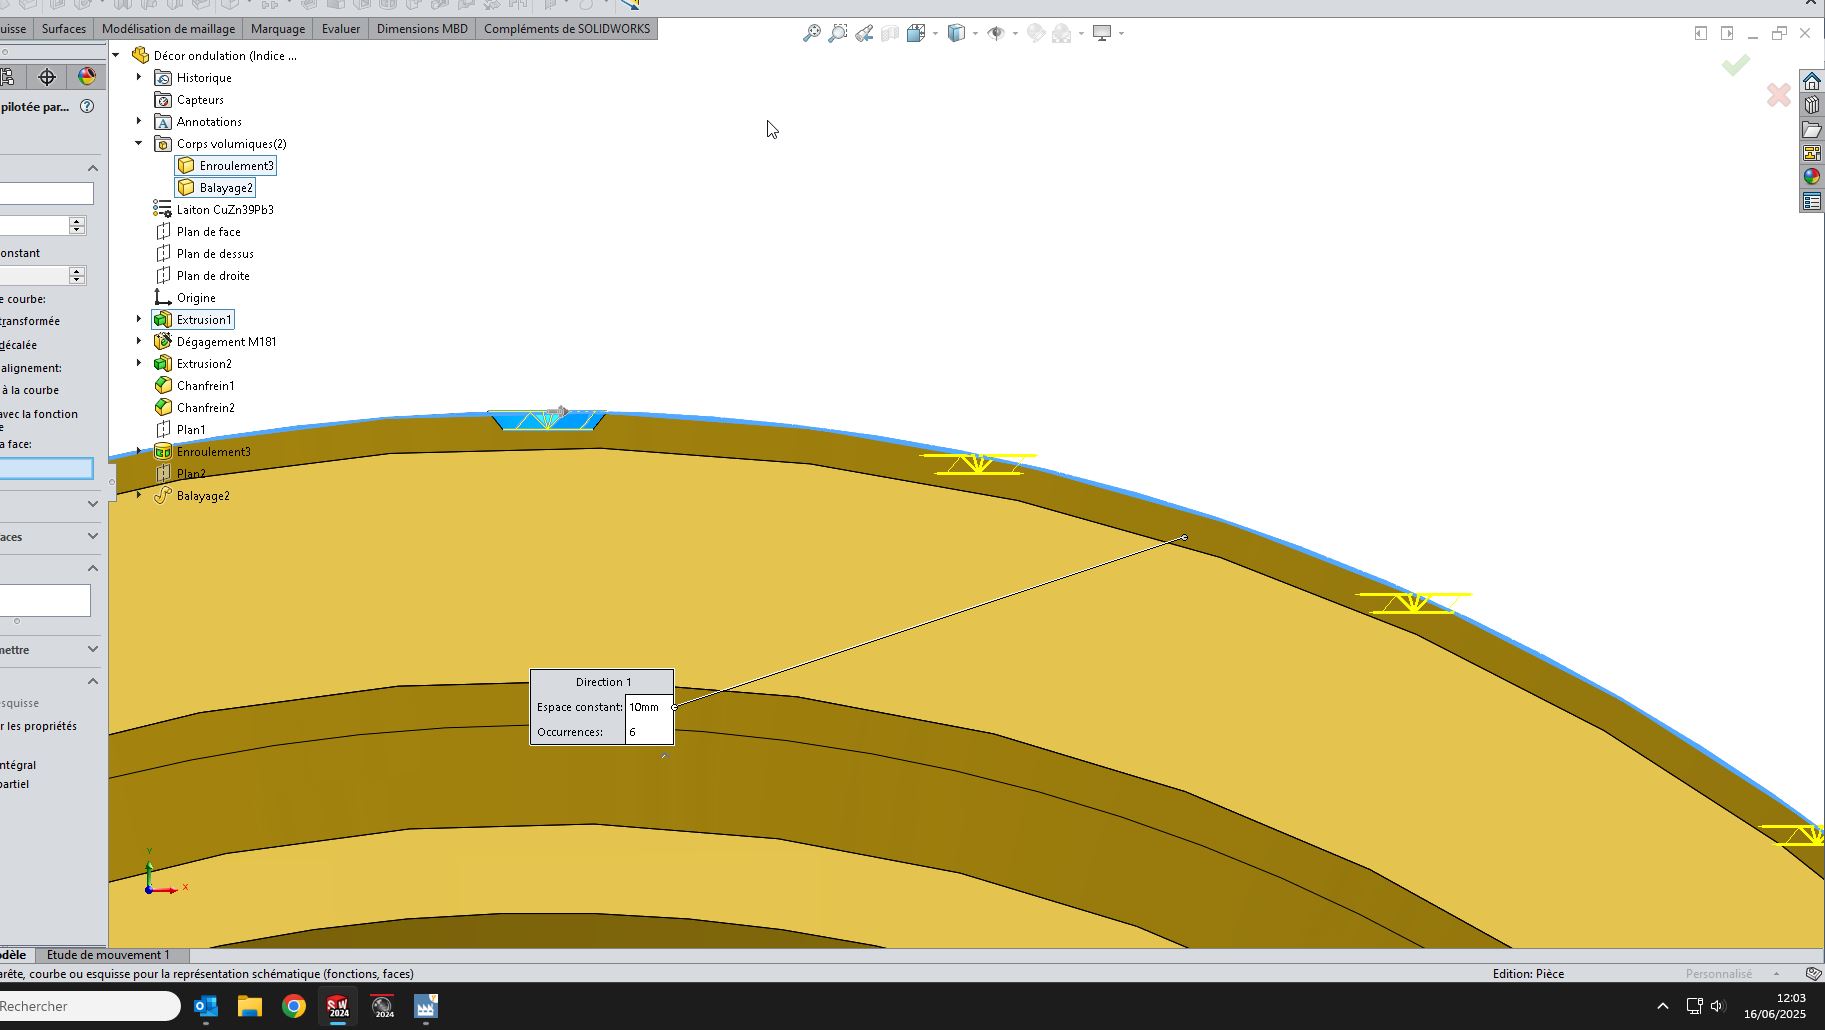
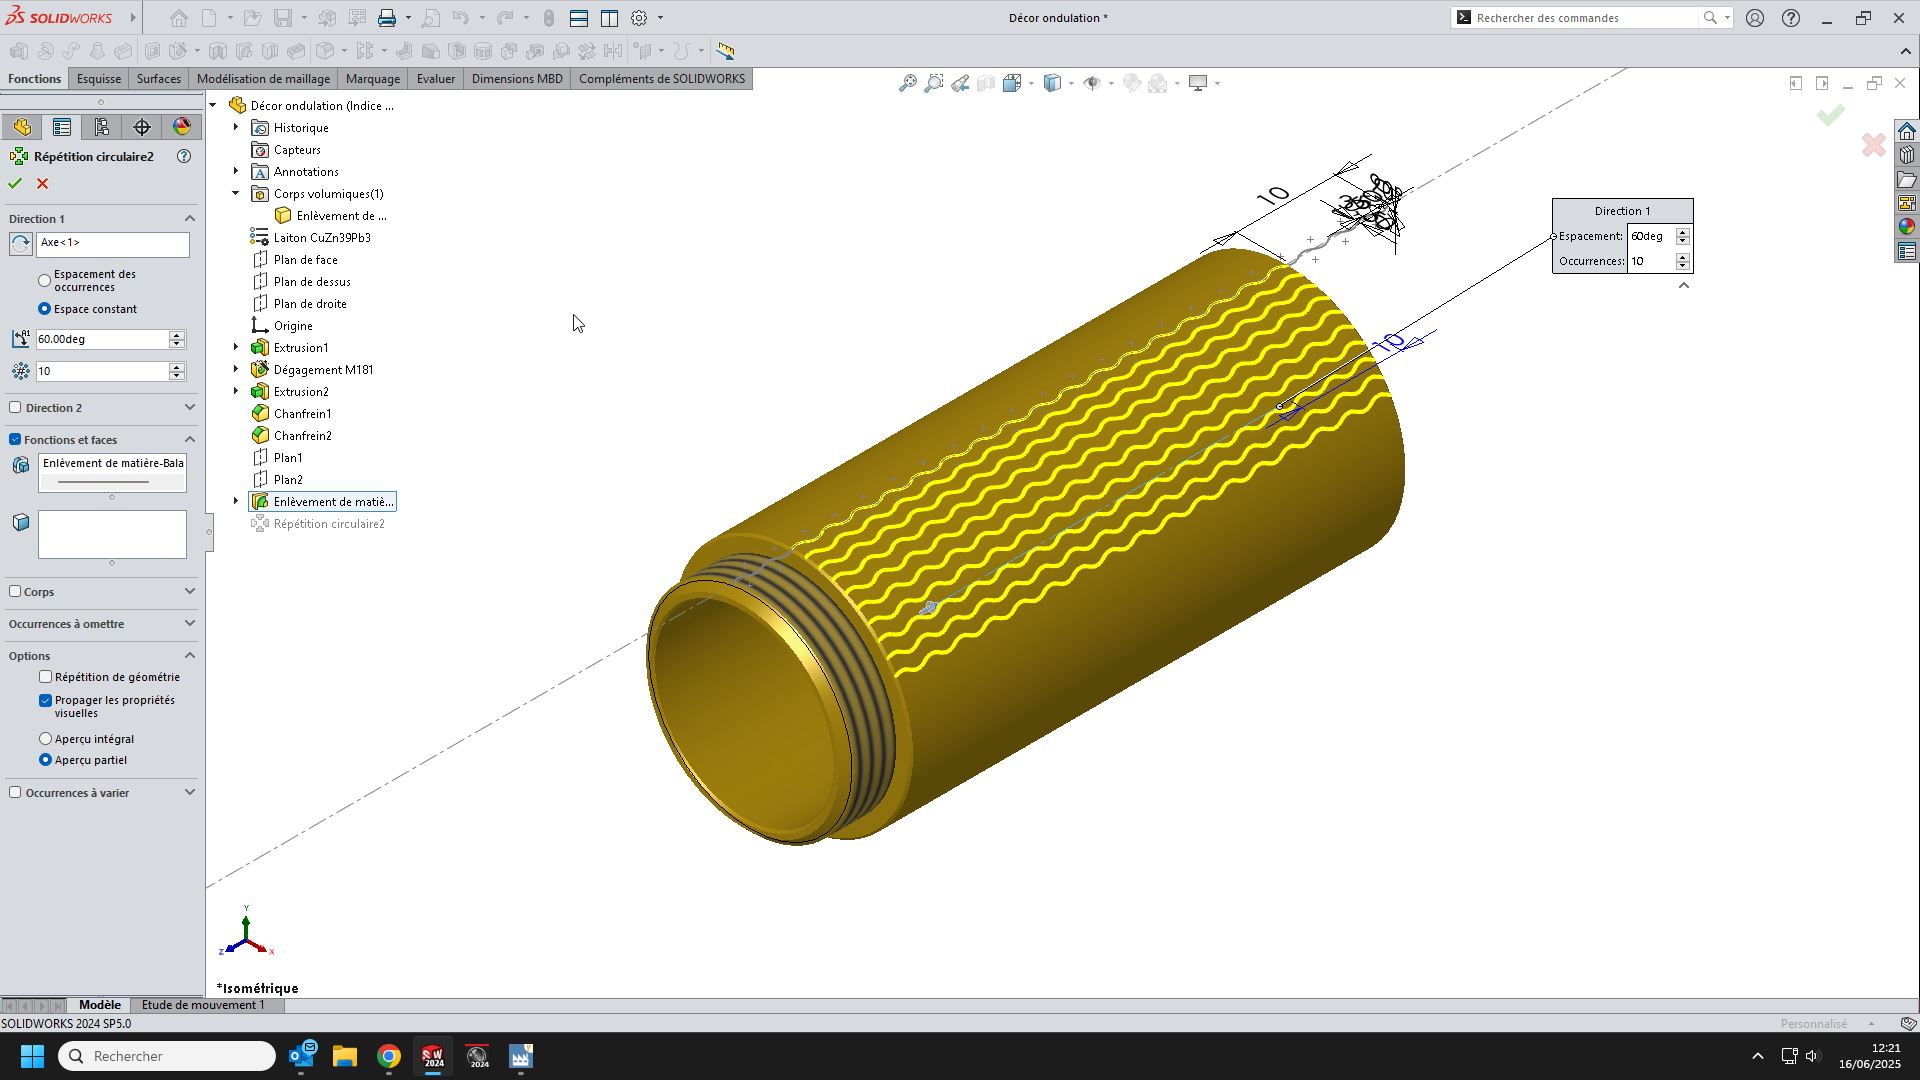
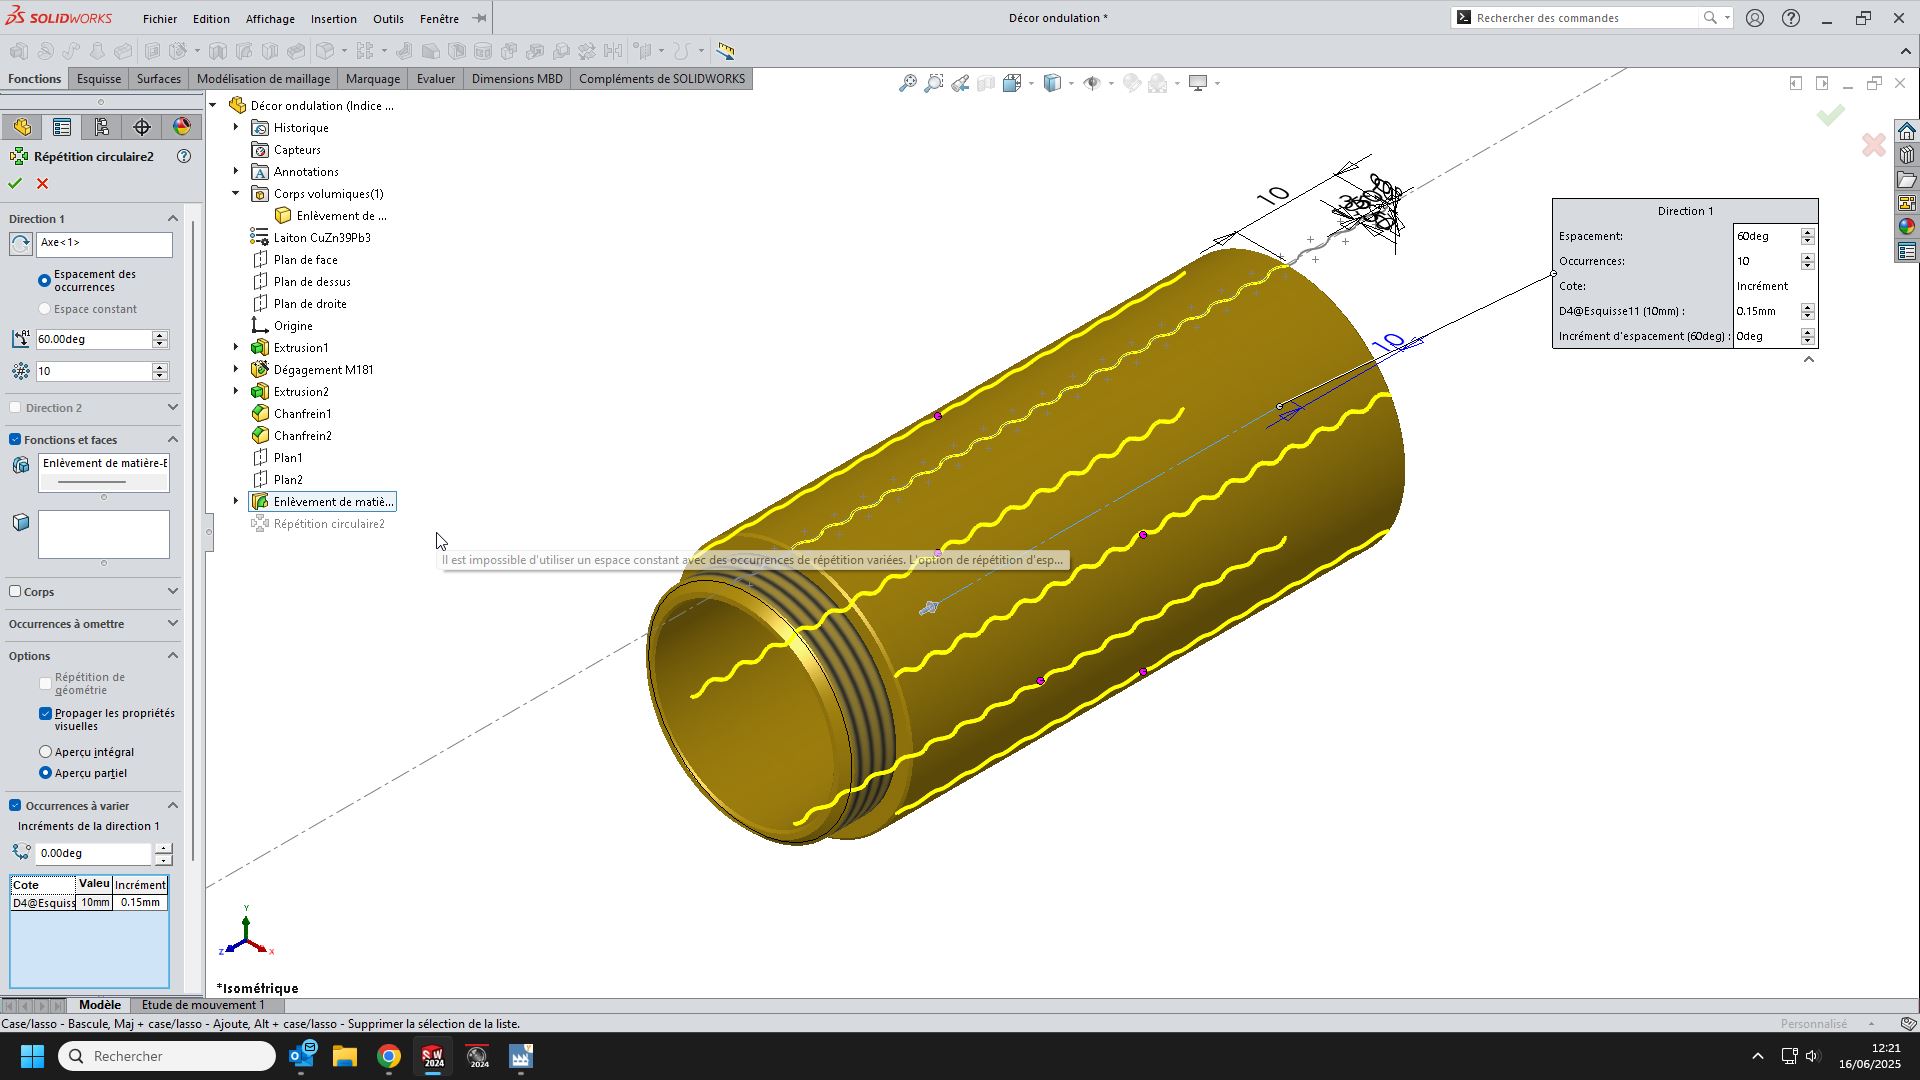
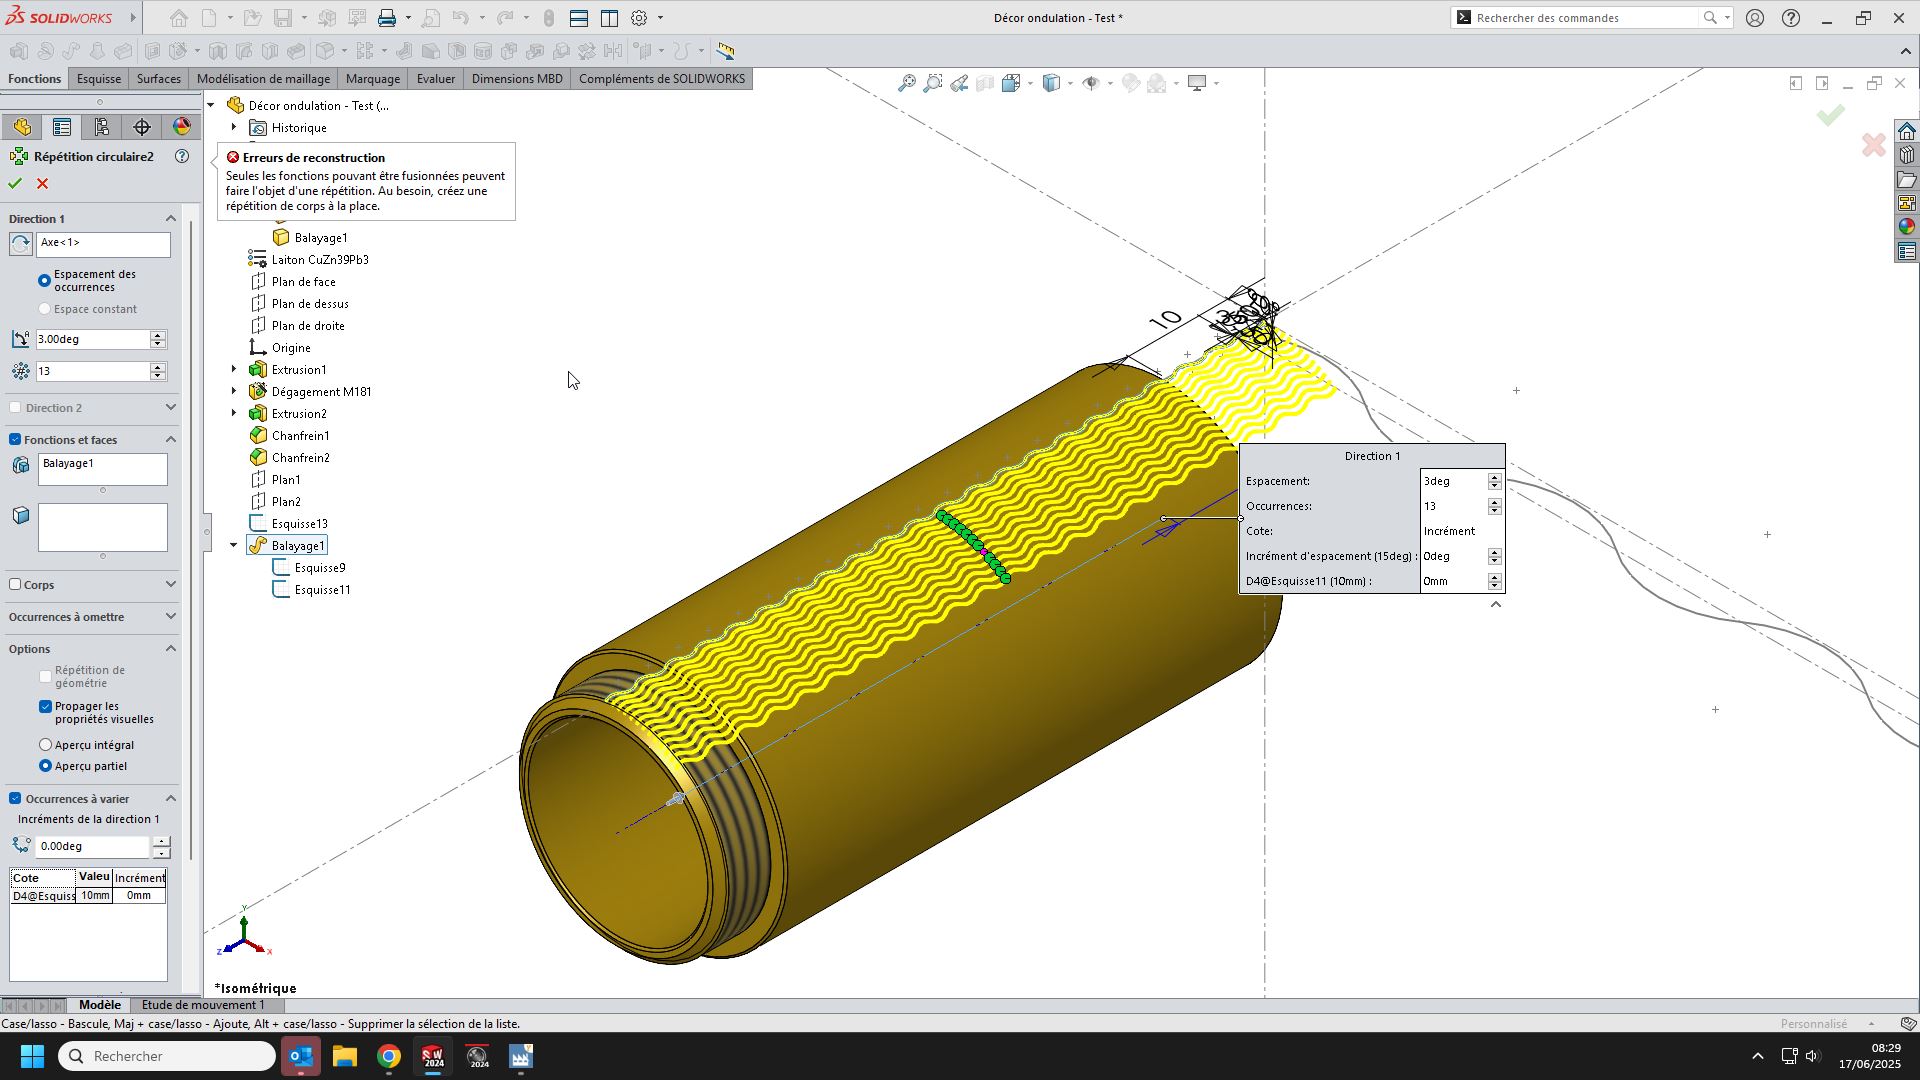
@sbadenis Your idea was tempting, I had already tried it without knowing this parameter of variation. The result is close to the desired final rendering but SW blocks some parameters. It denies me constant spacing if I want to integrate a variation. So I tried with spacing of occurrences by entering 1 to 1 the values since my curve undulates in + and - but it doesn't take values less than 10 (My reference side) So I tried on an angular portion and then made symmetries but I forget, the reconstruction time is more than 200 seconds. With my method I am on 60 seconds.
Indeed the reconstruction is rather slow too, on the other hand my piece is lighter afterwards. By blocking the rebuild bar, you may spend a little more time designing it but less time then opening it. You can also lengthen your wave so that you don't have to go below your value of 10 and make a return of your ripple. (roughly 20 or 30mm instead of 10mm to avoid symmetry and slowness) It's then up to you to see what suits you best between the 2 solutions!
Thank you for your help @sbadenis. I think that any value in place of my 10 will not allow what you say. I'm talking about the ripple the other way around.
On the other hand, I just tried your method on another set that I have to make and it's great.
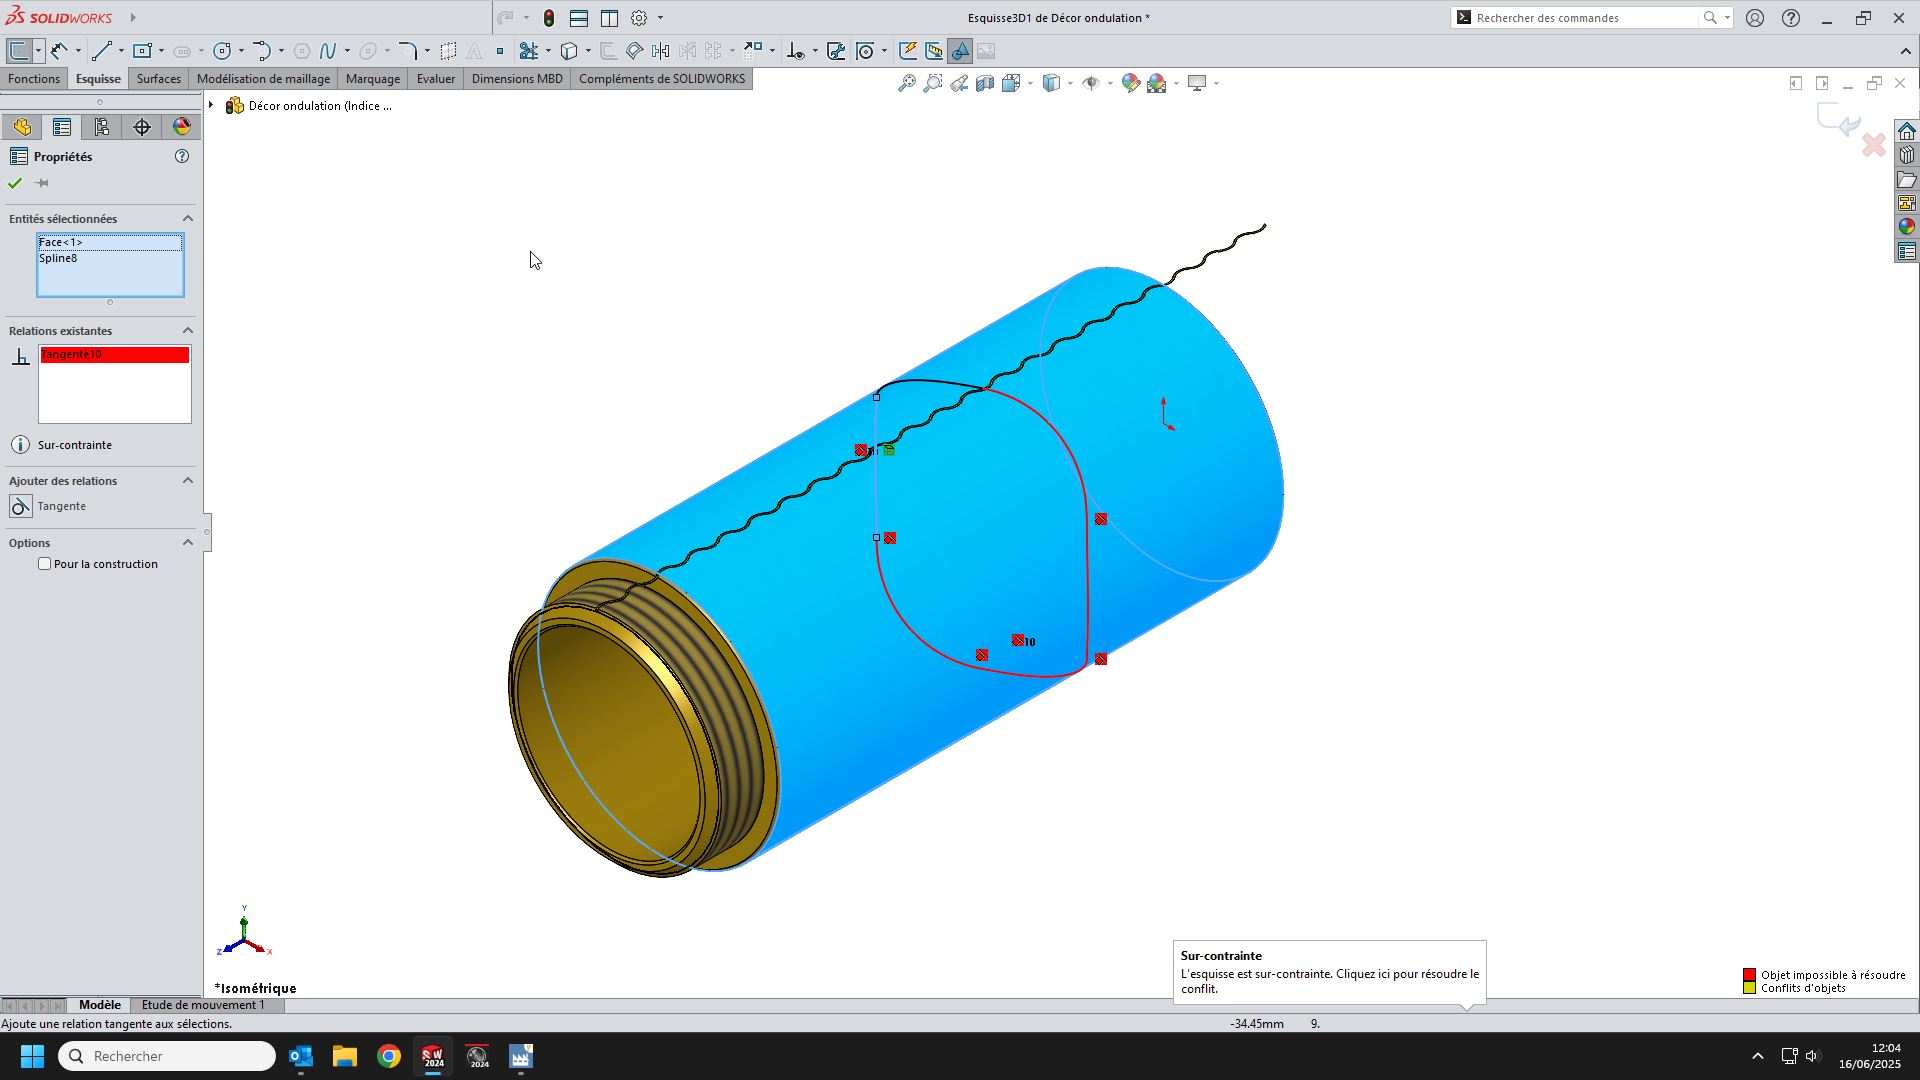
yes, sorry, it seemed like a good idea to me... I tried with a repetition based on a Helix/spiral type sketch... but no way to make the removal of material tangent to the cylinder...
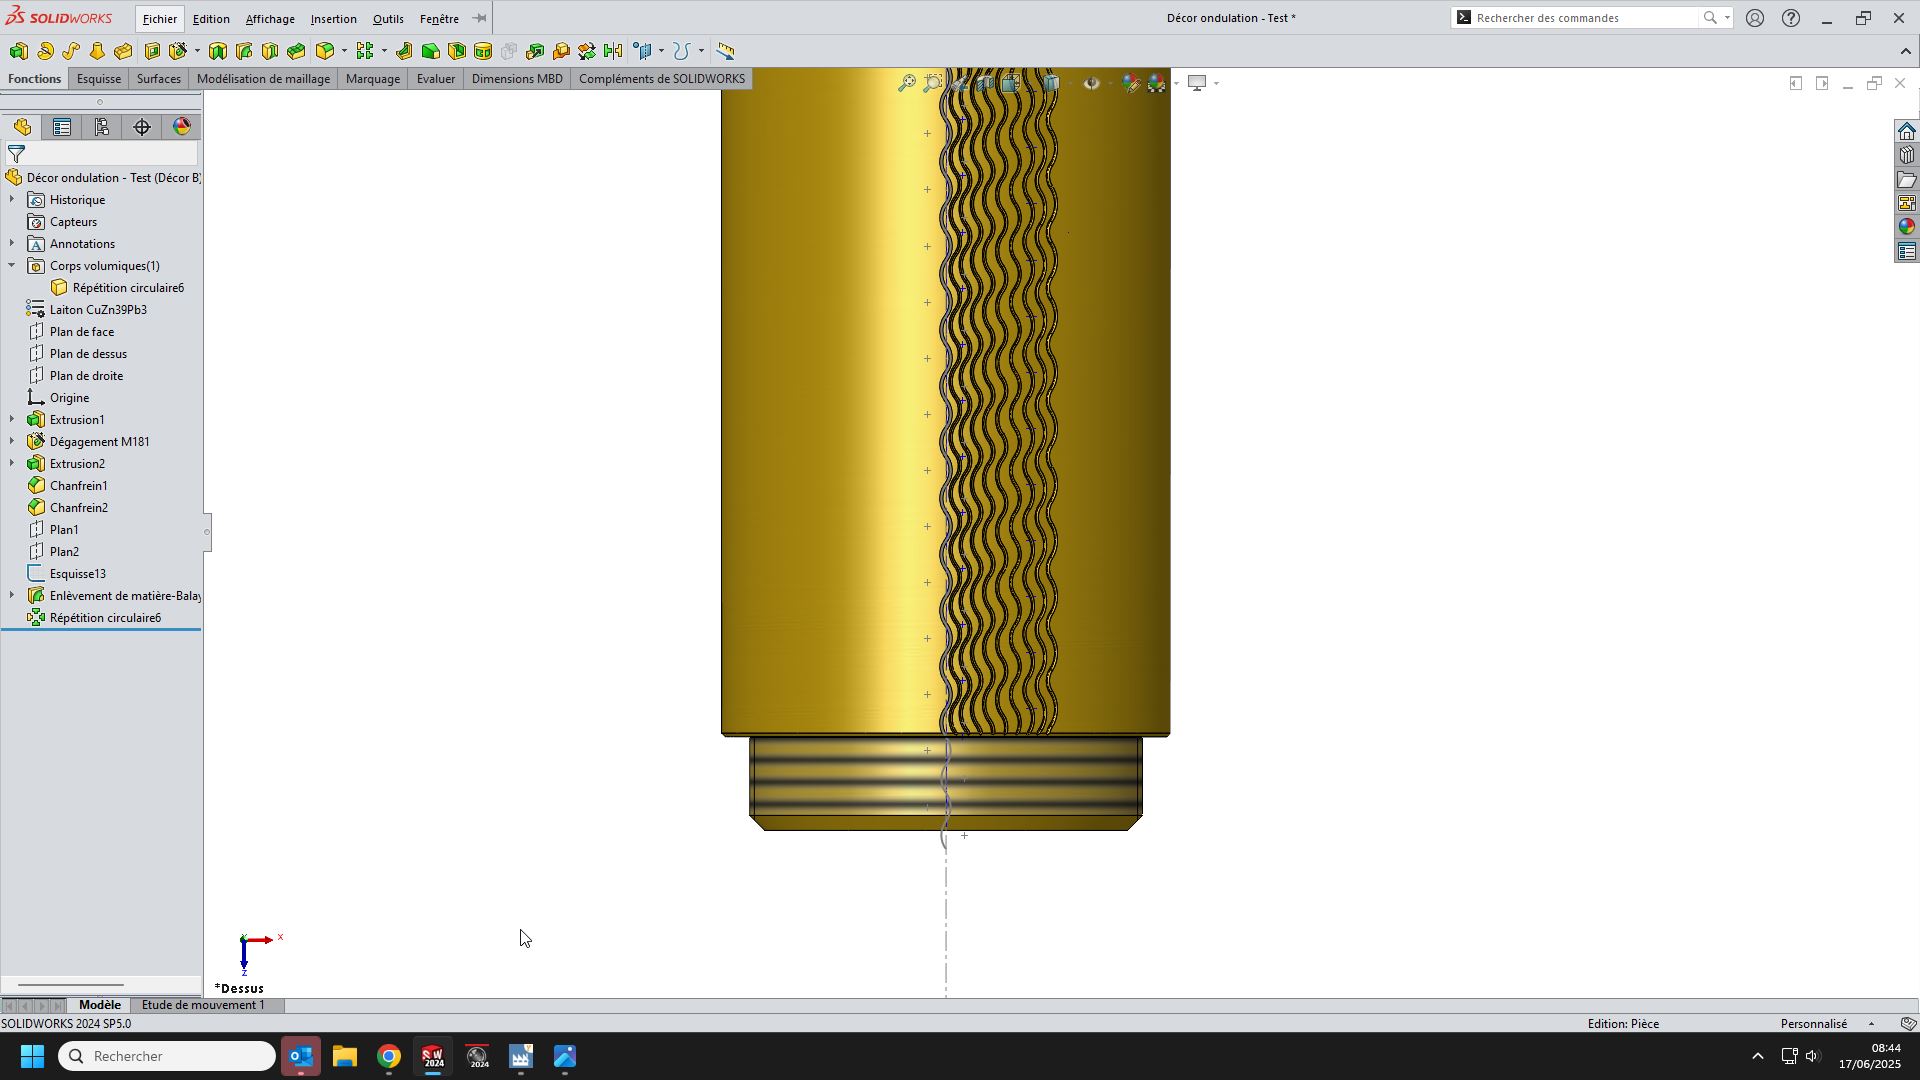
I'll give more details later if needed, but basically almost the same method as @sbadenis but repeating the minimum variation to fall back on the initial shift, then repeating the geometry of the 1st repetition. The reconstruction is rather fast with this method.
@Sylk Thank you for your help but your circular repetition with increment only goes in 1 direction, I need like a ripple in 2 directions.
@sbadenis I've tried a lot of things but SW drives me crazy. Repeating a sweep, he refuses. If I do by selecting body, I can't increment anymore. If I do from a removal of material and I do a repetition with increments, it distorts my undulations My method, despite its complexity and the number of steps to obtain the desired result, is for the moment the only solution that suits me. Sorry friends